Paper foundation method
String blocks are fun to create and a great way to use scraps so you aren’t constantly looking for new ways to store them! They are usually quicker to make than traditional pieced blocks since no pre-cutting or precise piecing is needed. Your designs can be as creative as you like. The examples at this link show that string blocks can also be used to replace pieced units of many existing patterns.
The paper foundation method demonstrated here is often a better choice for warm, humid climates because other materials, like muslin or old sheets, can weigh down the quilt and make it less practical.
To begin….
- Cut paper foundation at least 1/2″ larger than the finished block size, using newspaper print like Publix or Home Depot ads.
- Cutting it an inch larger will give you even more “wiggle room” when you go to trim the block later. Example: for a 9″ finished block – cut foundation at least 9 ½” or 10″ to allow for errors.
- Shorten the sewing machine’s stitch length to approximately 1.5
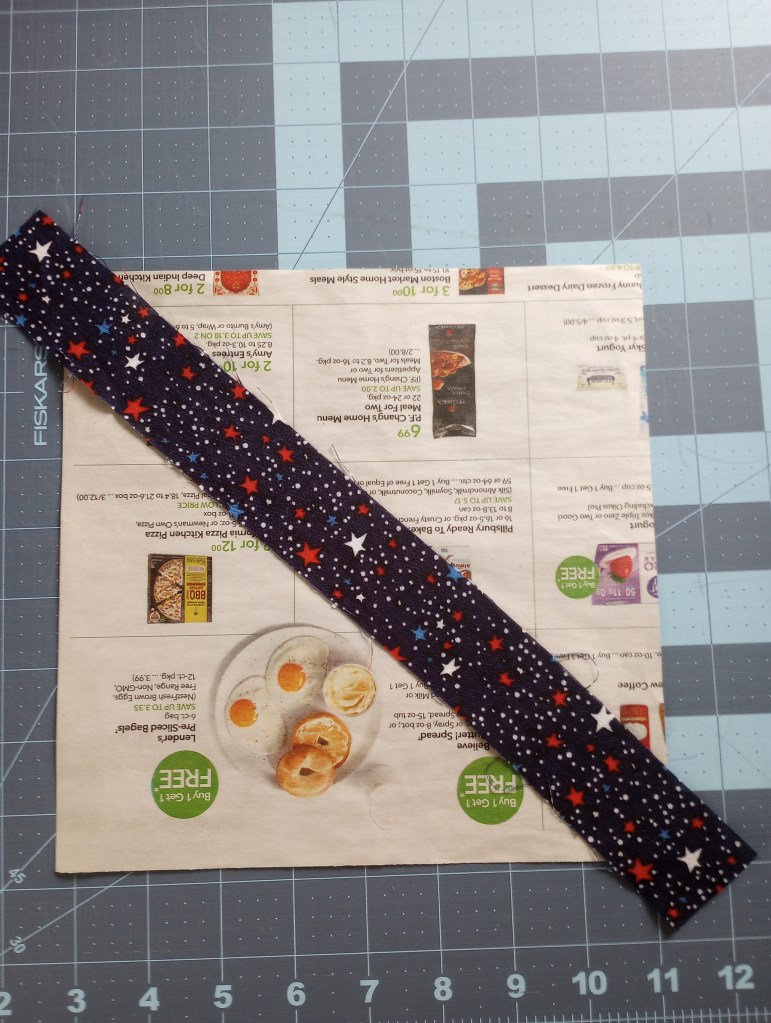
- Center the first string diagonally across the paper foundation, right side facing up making sure the fabric extends beyond the paper at both ends.
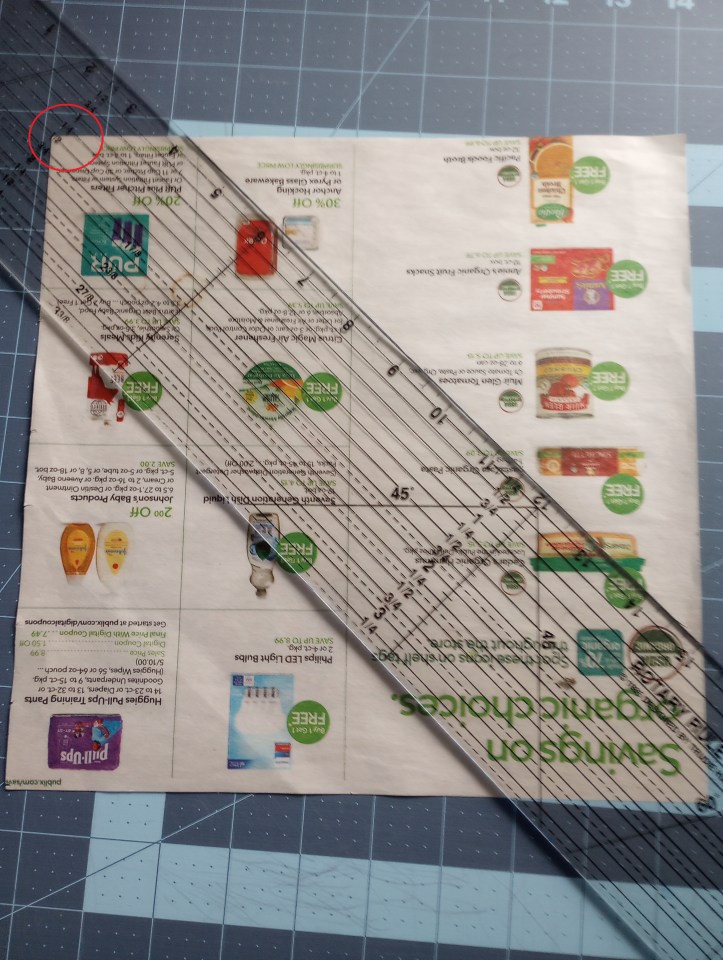
When using a consistent center strip, it’s helpful to draw a diagonal ling on the paper to use as a guide to line up the first strip. Place your ruler corner to corner and according to the width of the center fabric(s).
The measurement used is equal to ½ the width of the strip. In this example, the center measures 3″ so the 1 ½” mark on the ruler is lined up at each corner.
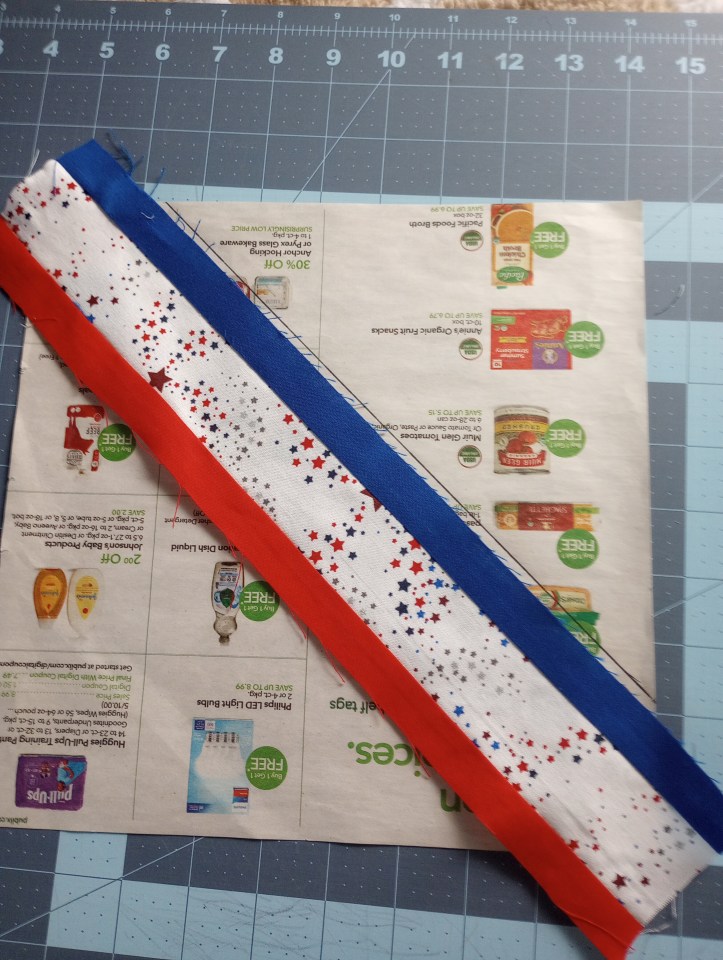
Draw a pencil line on each foundation paper. The line will be a guide to keep your strip centered.
This sample block shows a three fabric pieced unit being used as the center strip.
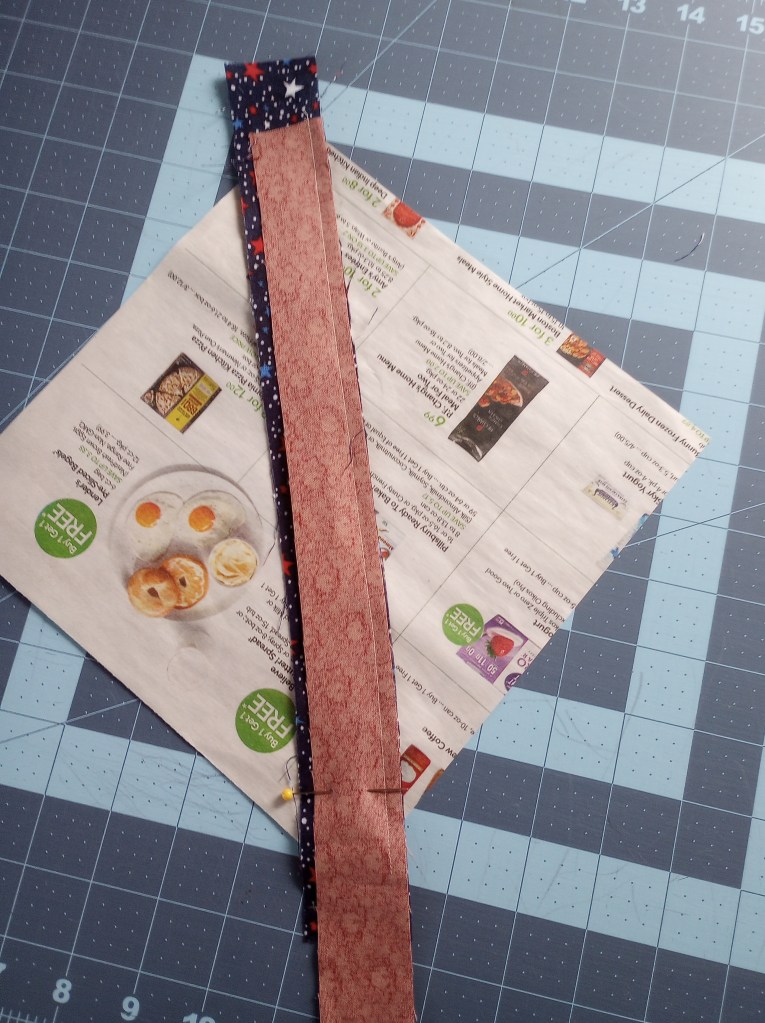
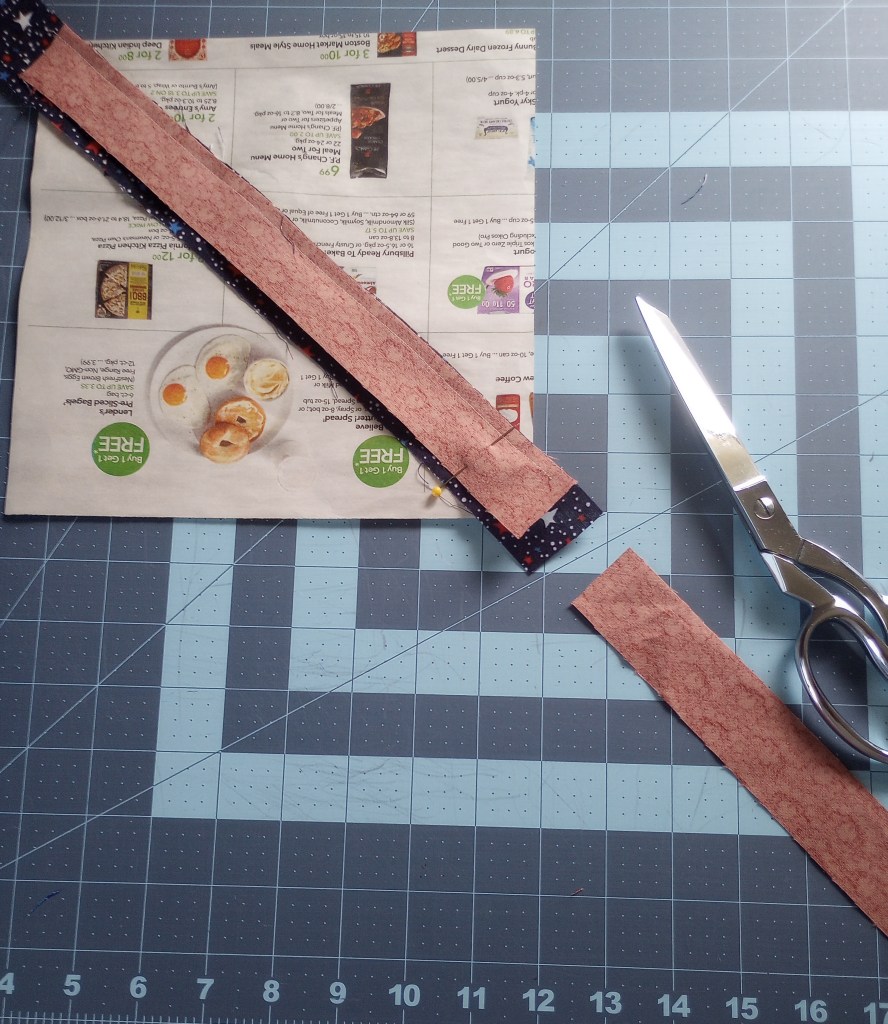
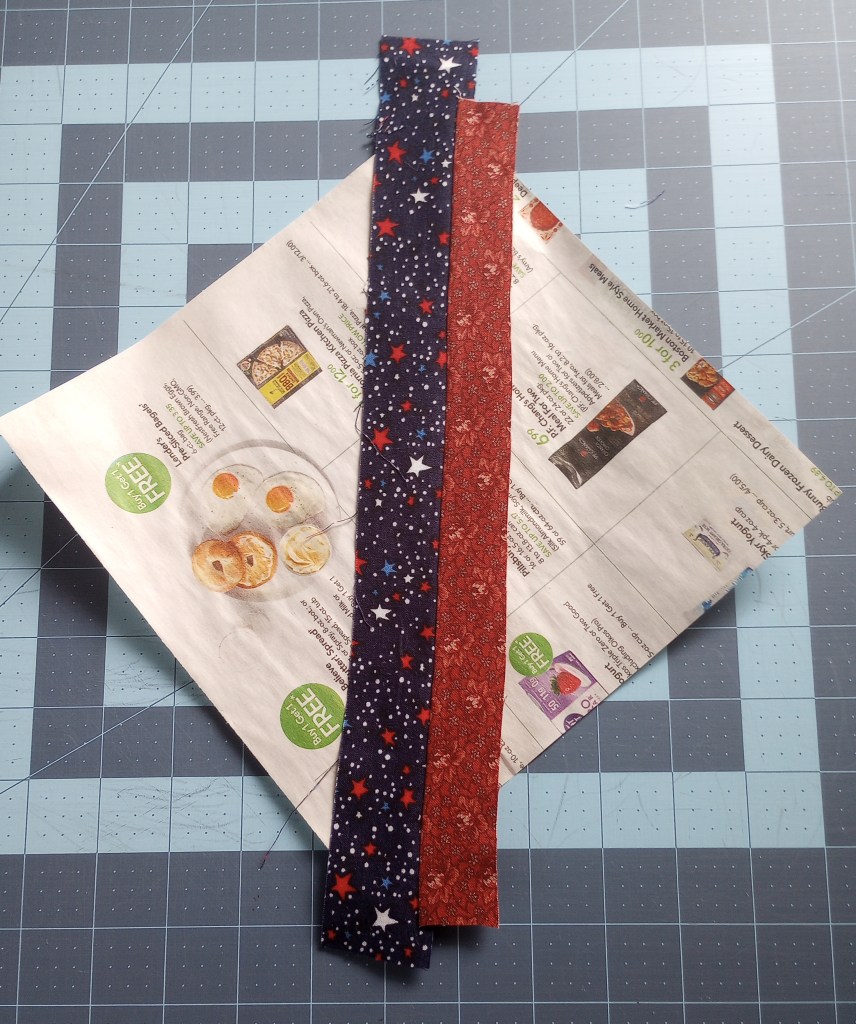
- The second string is placed face down on top of center string so that right sides are together. If one of the strings doesn’t have a straight edge, line it up the best you can to make sure there is adequate seam allowance for both fabrics.
- Pin at bottom (or just hold in place as you sew) to keep the string centered.
- Make sure the fabric extends beyond the paper at both ends.
- Stitch through both fabrics and the paper foundation, stitching a little beyond the end of the paper.
- Cut off excess length of fabric with scissors.
- Press open using an iron (rather than finger-pressing) for a nice, flat block.
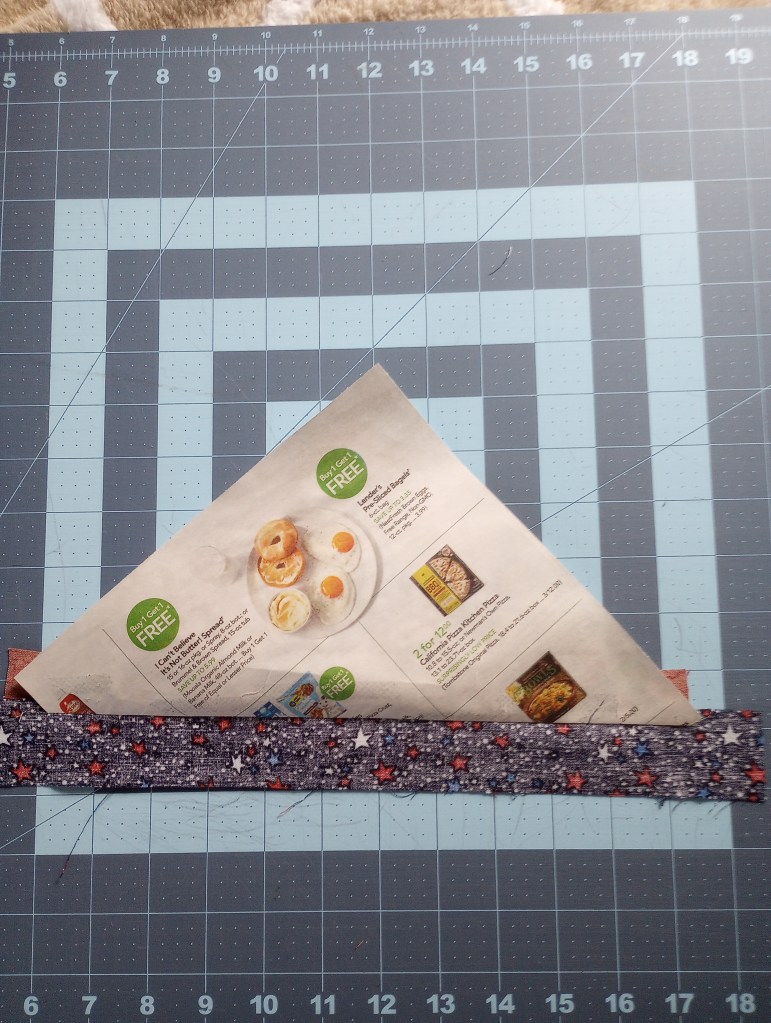
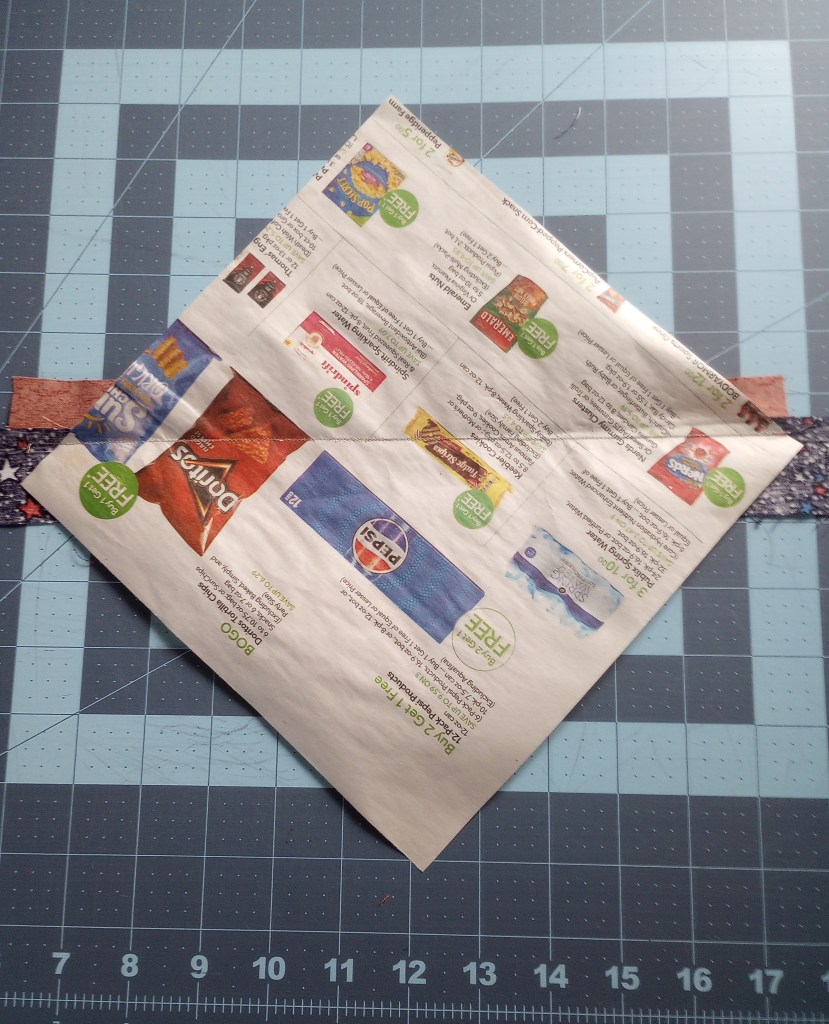
- Flip the block over and fold the paper back to create a sharp crease. Open it again. This technique makes it easier to tear the paper later, similar to when you were a kid and creased the paper to make it easier to tear it in half. Both creasing the paper and using a shorter stitch length help to make it easier to remove the paper foundation when the block is completed.
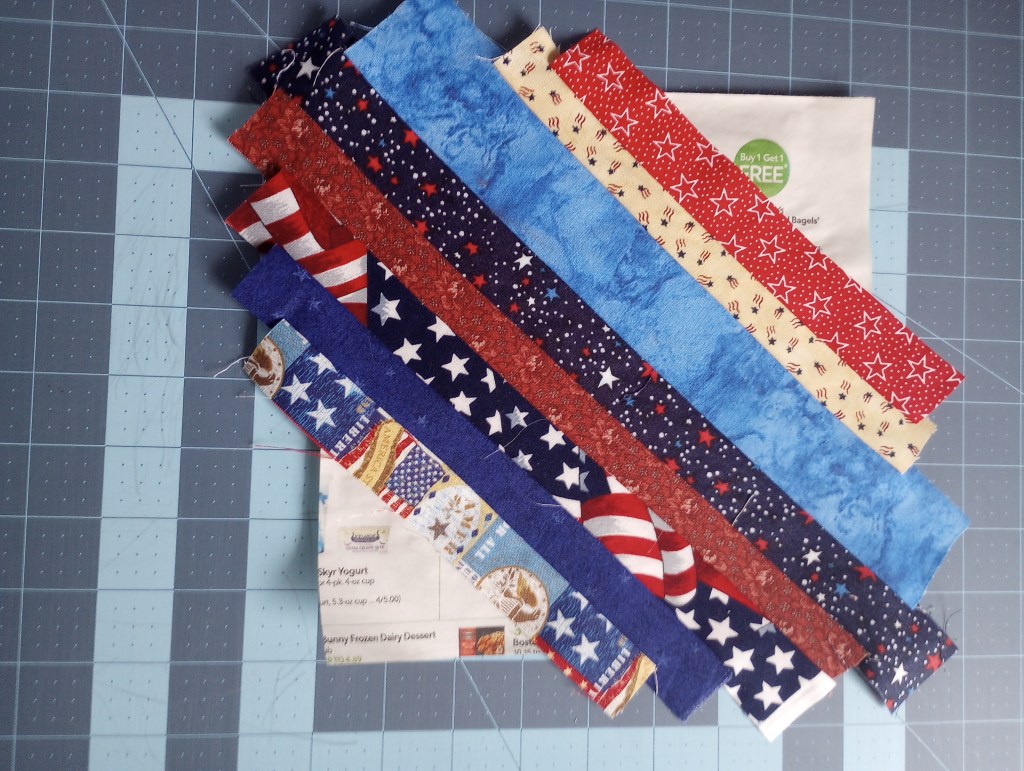
- Continue adding strings to each side of the block, cutting off excess fabric, pressing open, and creasing the paper from the back along the seam line with each new string.
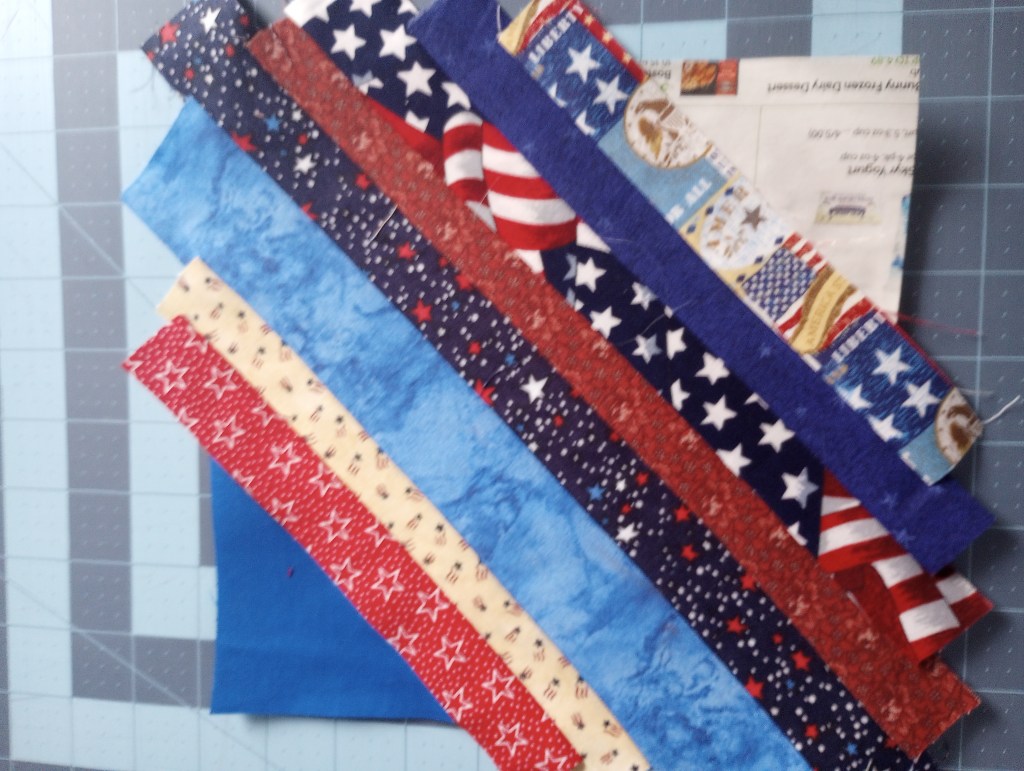
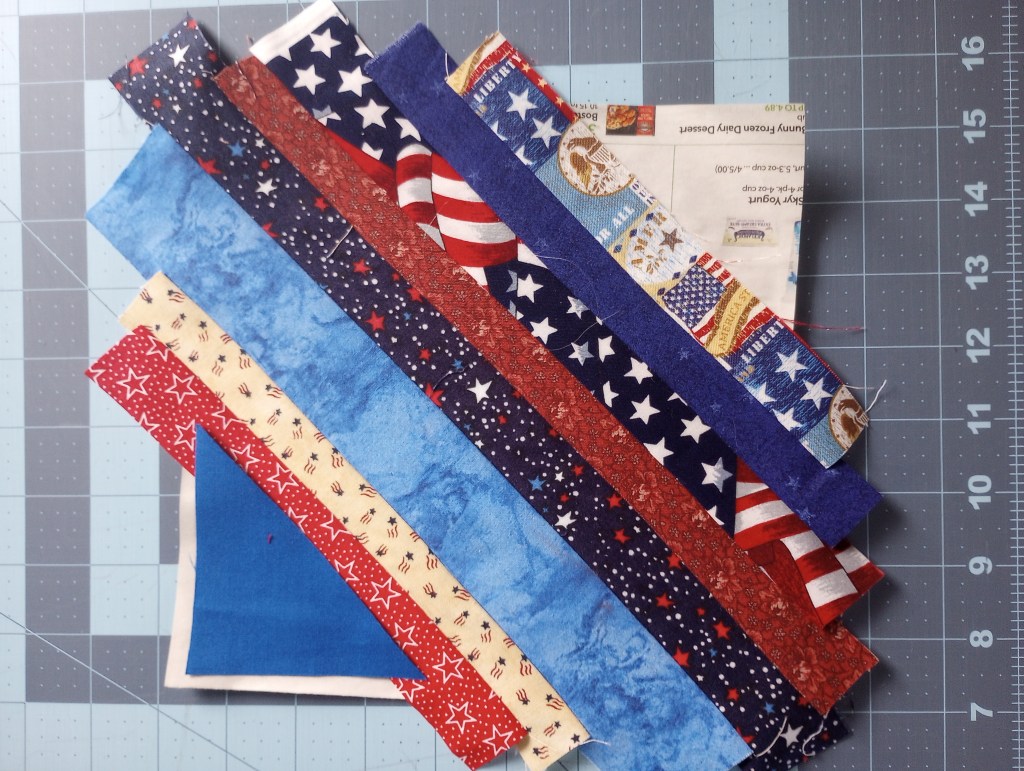
- Whether to add a triangle or strings for the corners of the block is up to each quilter’s preference. These blocks will made using triangles (3 ½” squares cut in half diagonally).
- Notice the lower left corner in the first photo. The triangle seems to fit.
- Moving the triangle slightly as shown in the second photo to show how it will fit after the ½” seam allowance, reveals that it won’t cover the paper. Another string is needed prior to adding the corner.
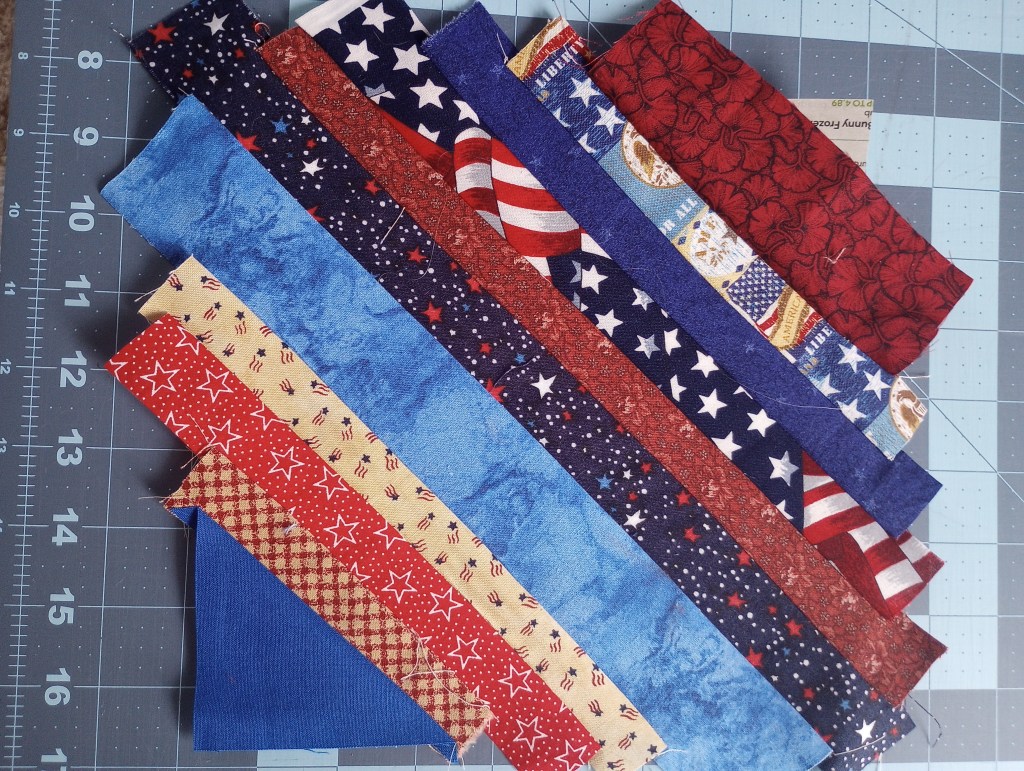
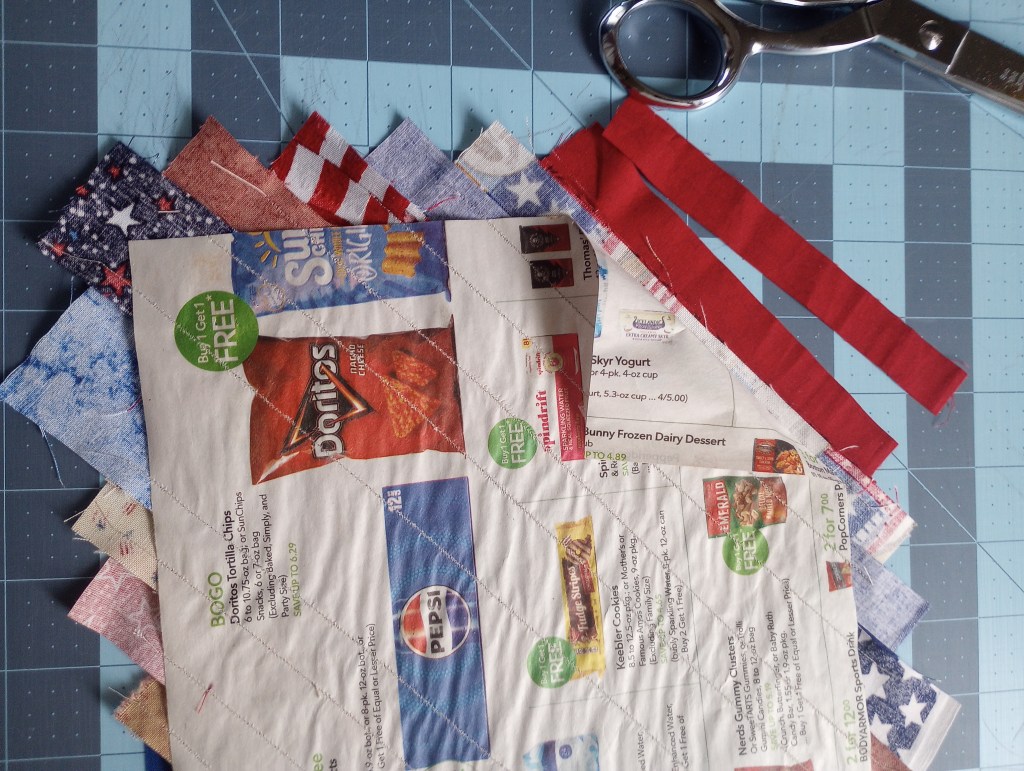
- The upper right corner demonstrates the opposite problem.
- The first photo shows that a wide string leaves little space for the corner. When the block is trimmed, it may be cut even smaller, leaving only a tiny bit of the corner fabric. When the blocks are sewn together later, the seam allowance from joining the blocks may end up being sewn on top of the tiny corner cross creating a bump in the quilt.
- The problem is an easy one to fix. Just turn the block over, pull the paper out of the way, and use scissors to trim the width of the string. Now it’s ready to add the corner triangle.
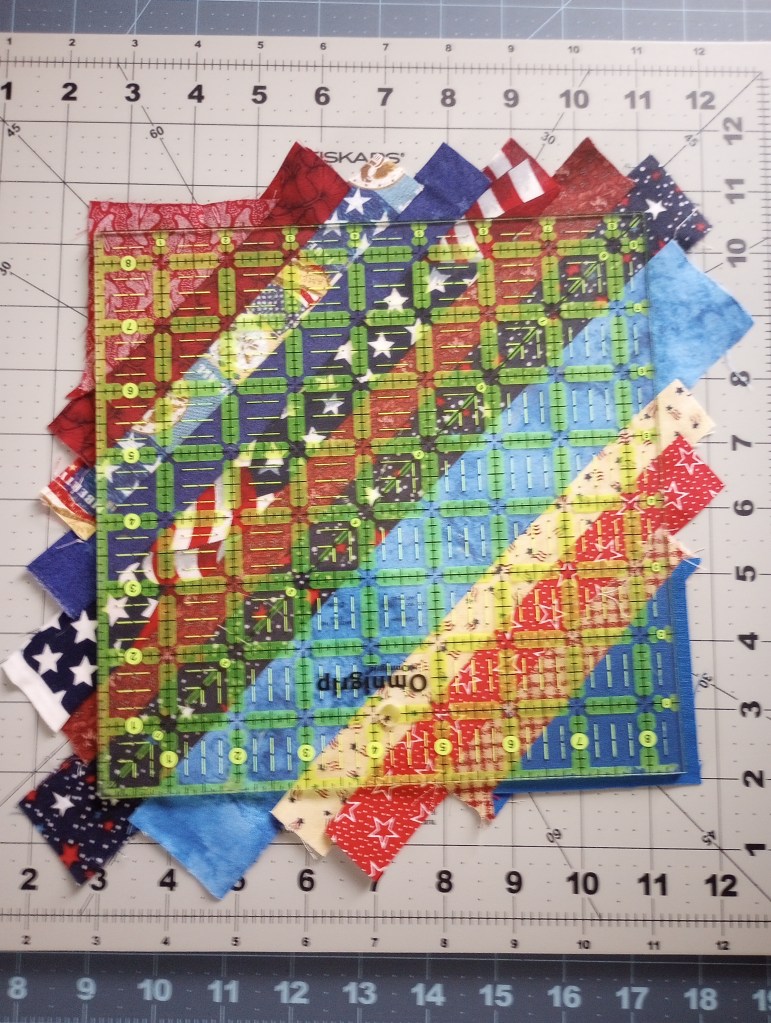
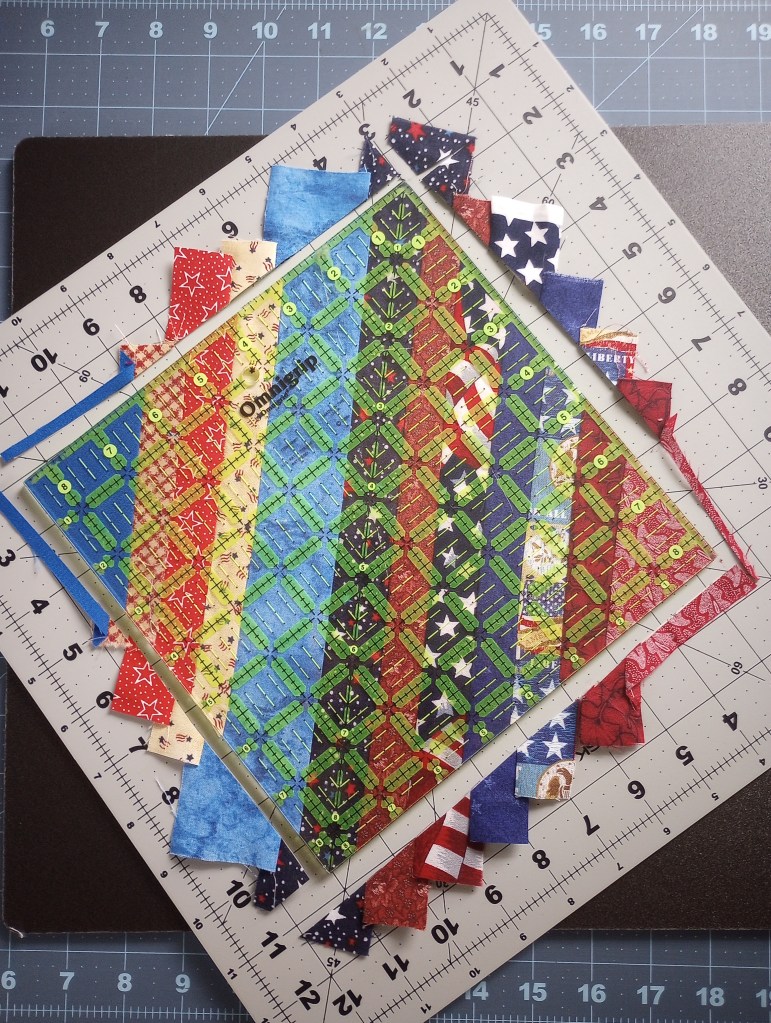
- Line up the diagonal on the ruler with the center string of the block to trim it.
- A rotating mat makes it easy to trim sides without moving the ruler or the block.
- Adjust the ruler placement if the required block size is different from the ruler size.
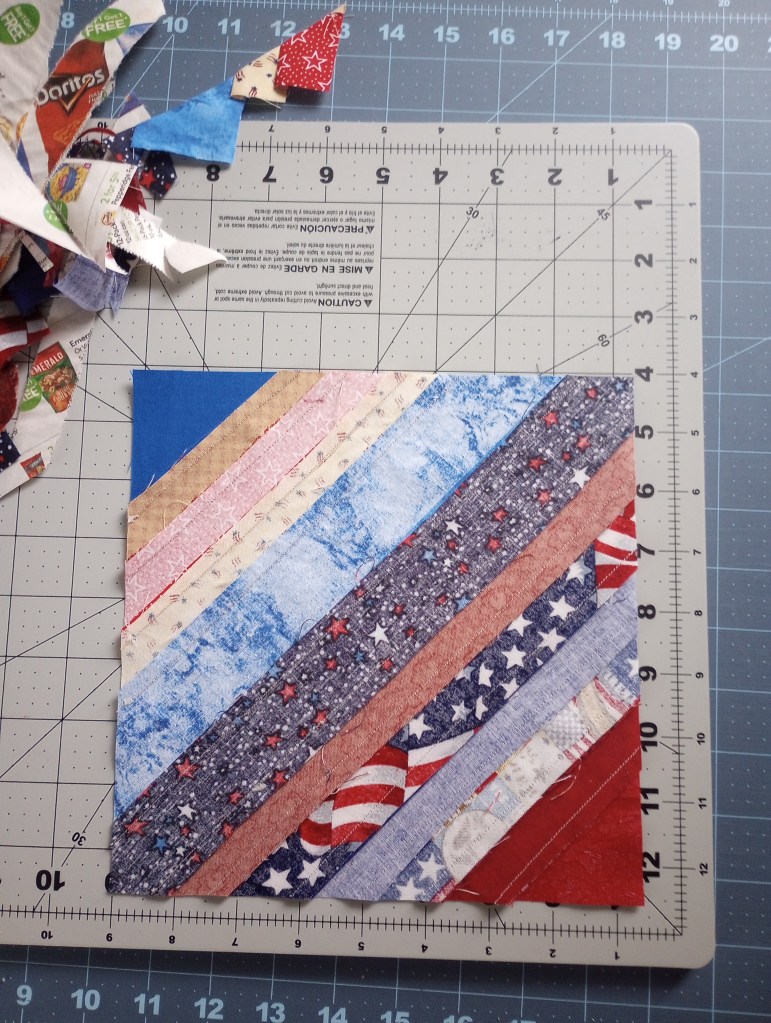
- Remove the paper foundation and give the block a good press.
This is a good time to check that the seams are secure and there are no holes in the seam! This can happen frequently when the edges aren’t perfectly straight.
It’s important to fix them now, even if it means cutting the block apart and inserting a new string.
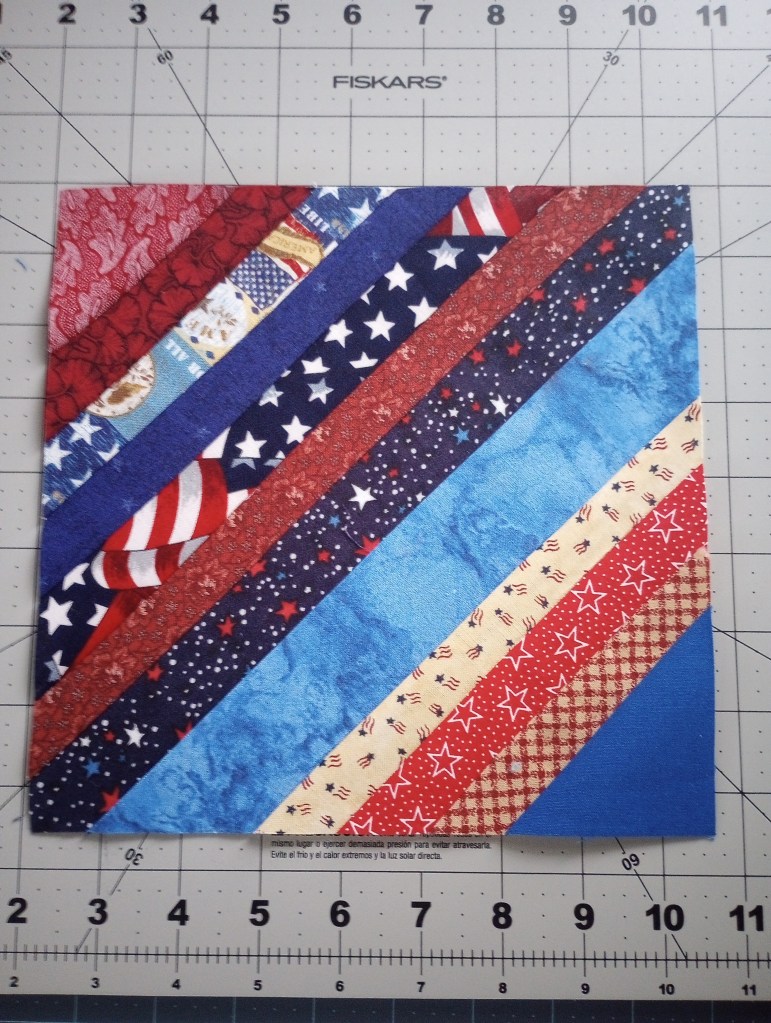
The finished string block!
 Quilts Pieced with Purpose
String Block
LikeLike
Just wonderful as always! So sorry to have missed your class on Saturday. Figured that would be better than infecting the whole Guild! I wouldn’t wish this cough and sore throat on anyone! Thank you again for all the work you do. It really is appreciated. I will try the paper thing once more…I promise! XXXXXOO Nancy
LikeLike