To achieve a nice mitered corner on machine-stitched binding, try this one simple trick!
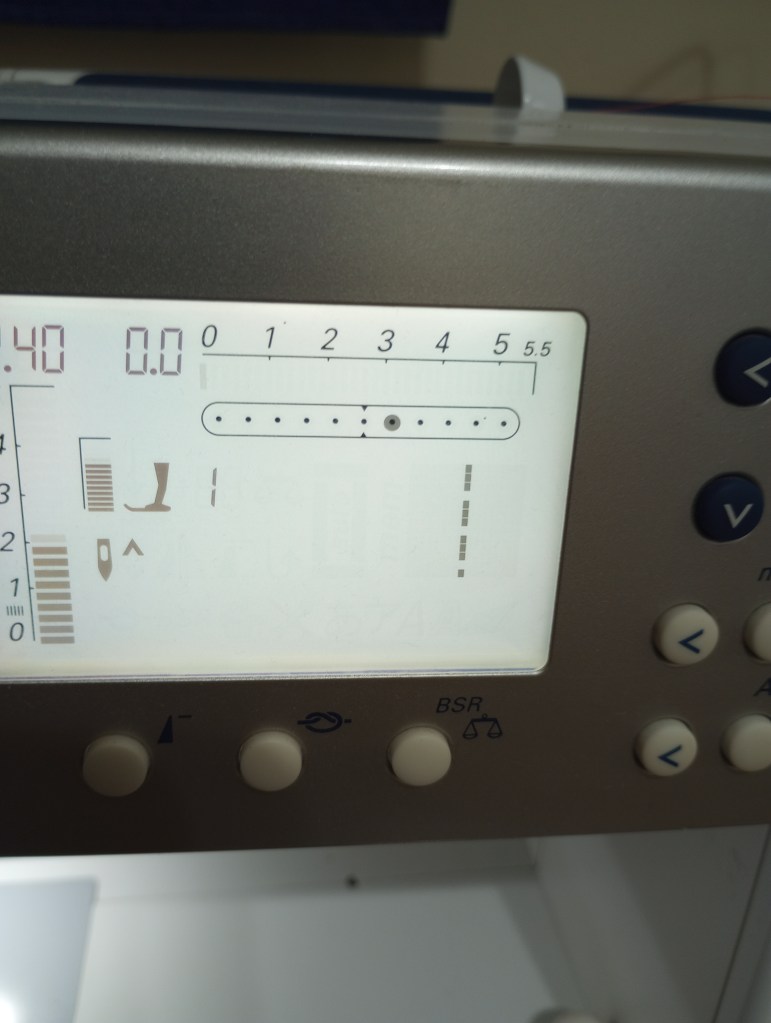
First, if your machine allows, move the needle position one click to the right. It’s not required to achieve a a good corner but, it’s helpful when stitching close to the edge.
Begin by sewing the binding to the front of the quilt as usual.
As you reach the corner, fold the binding edge facing you upwards.
Next, fold the side binding over and secure it with a large head pin at an angle, ensuring the pin catches both the bottom and side binding to hold the miter in place.
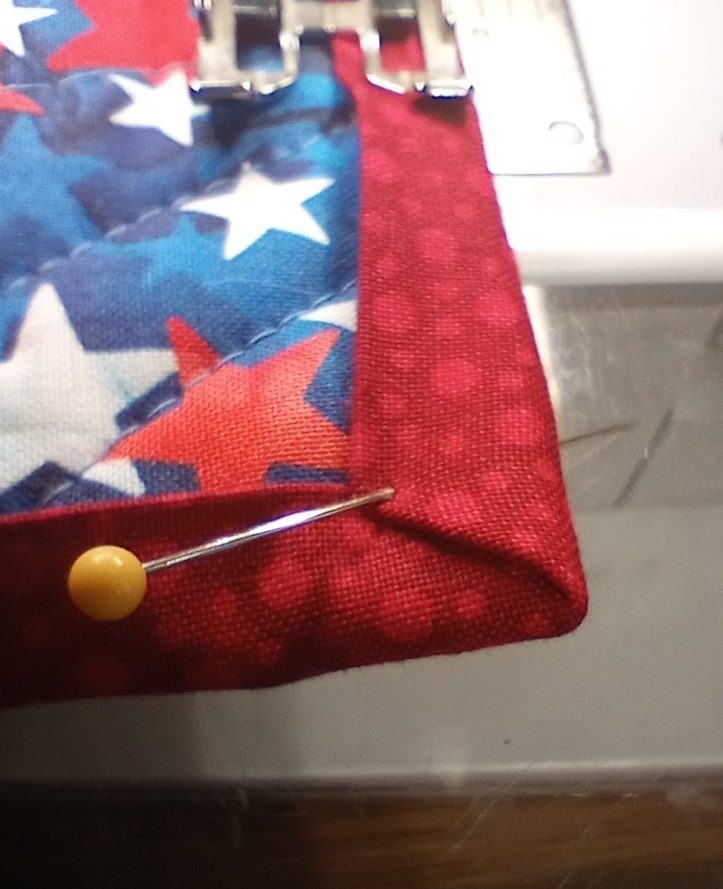
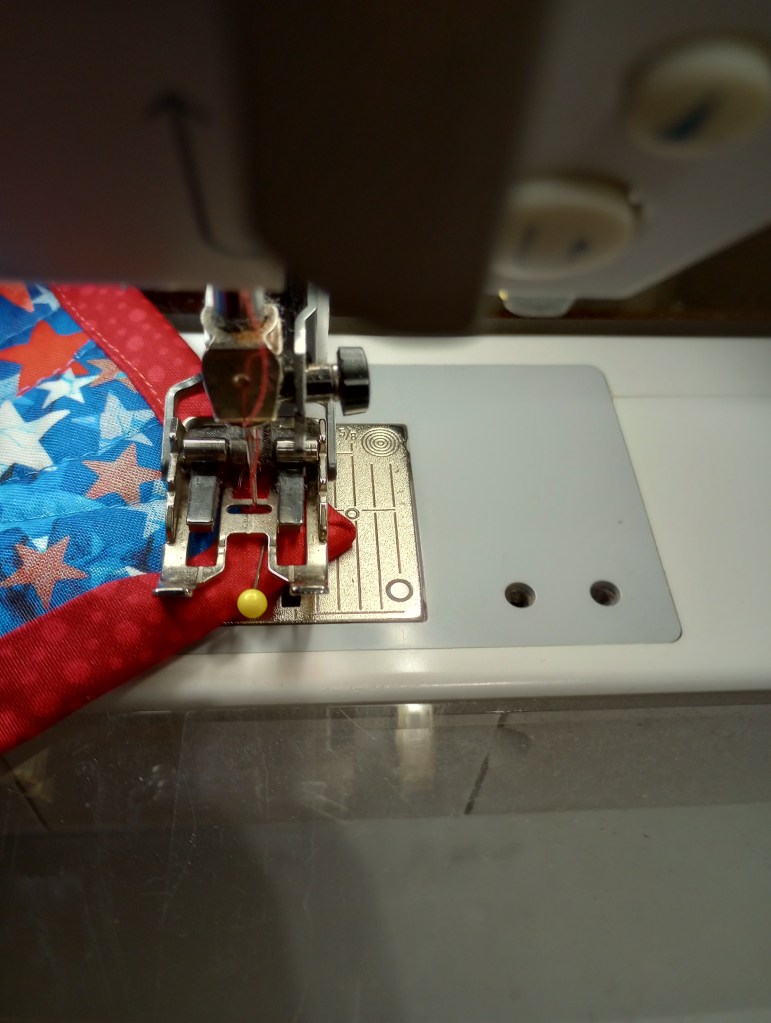
Begin stitching but stop a couple of stitches before you reach the pin.
Finish those next few stitches by hand using the machine’s needle up/down functions or, by using the handwheel. Leave the needle in the down position.
Pivot, and pull the pin out when it’s facing you.
Prepare to stitch down the other side but – DON’T BEGIN STITCHING YET!
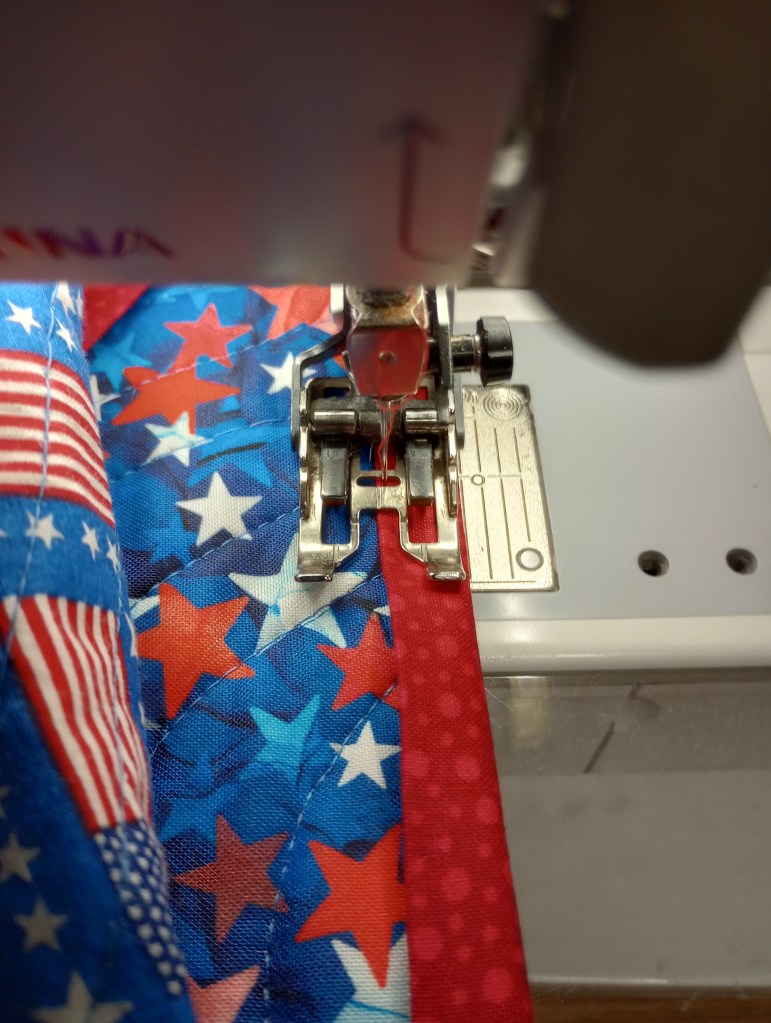
Important! Ensure your first stitch starting down the other side is positioned to stitch on the binding.
Skipping this crucial step will prevent you from achieving your desired result.
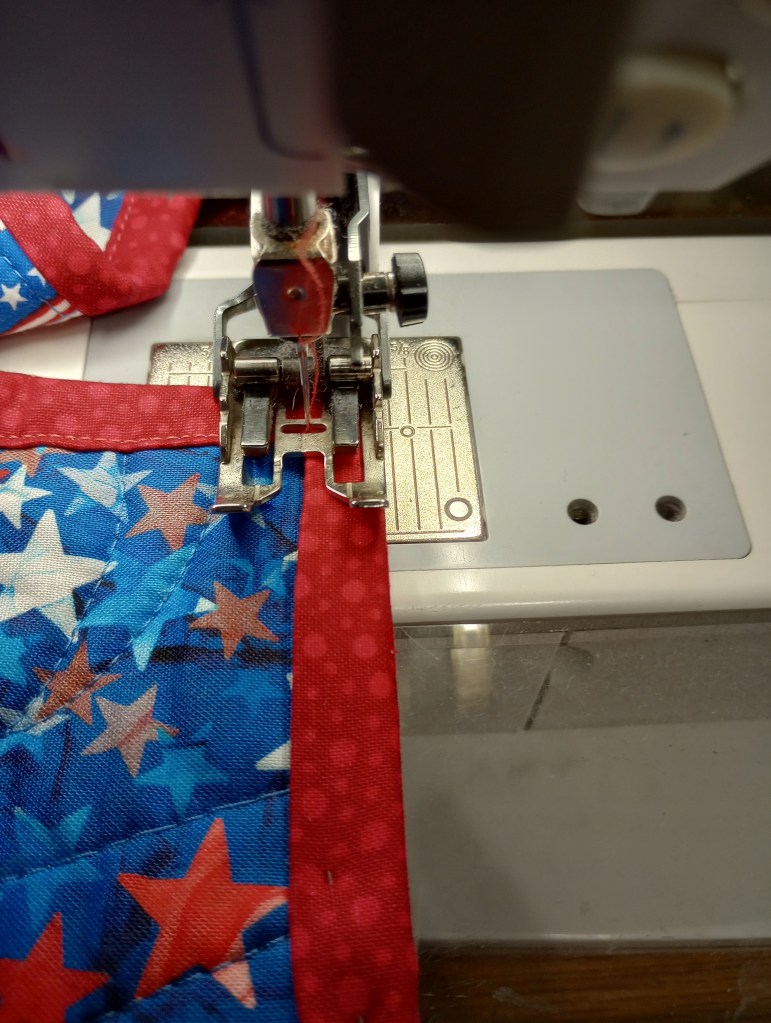
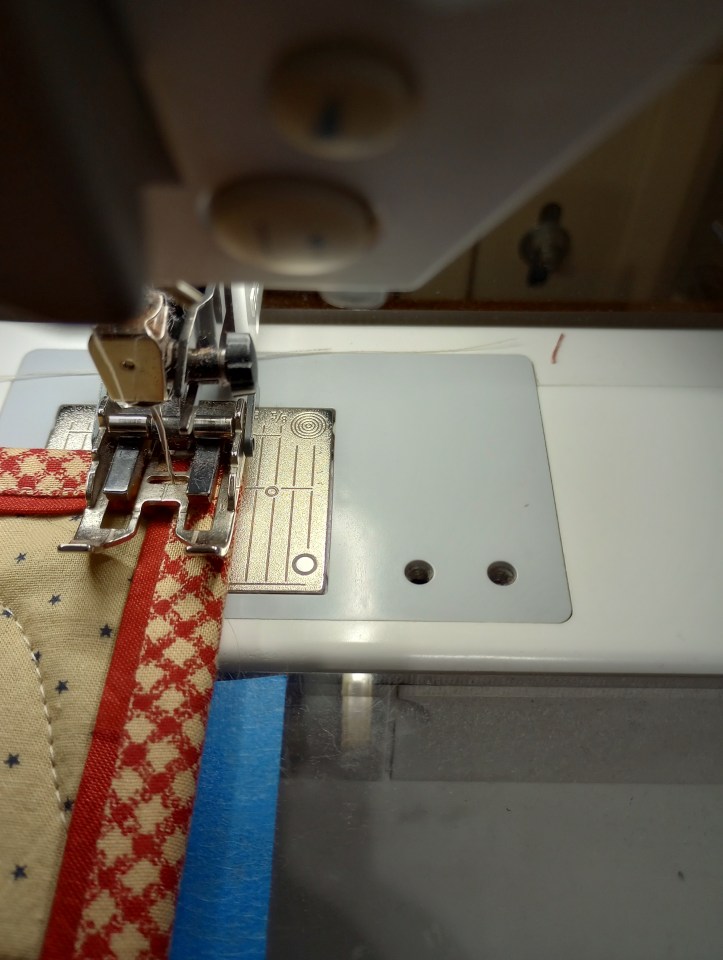
Notice in this photo, had the pivot been just one stitch sooner, the next stitches down the side would have landed on the quilt, not on the binding!
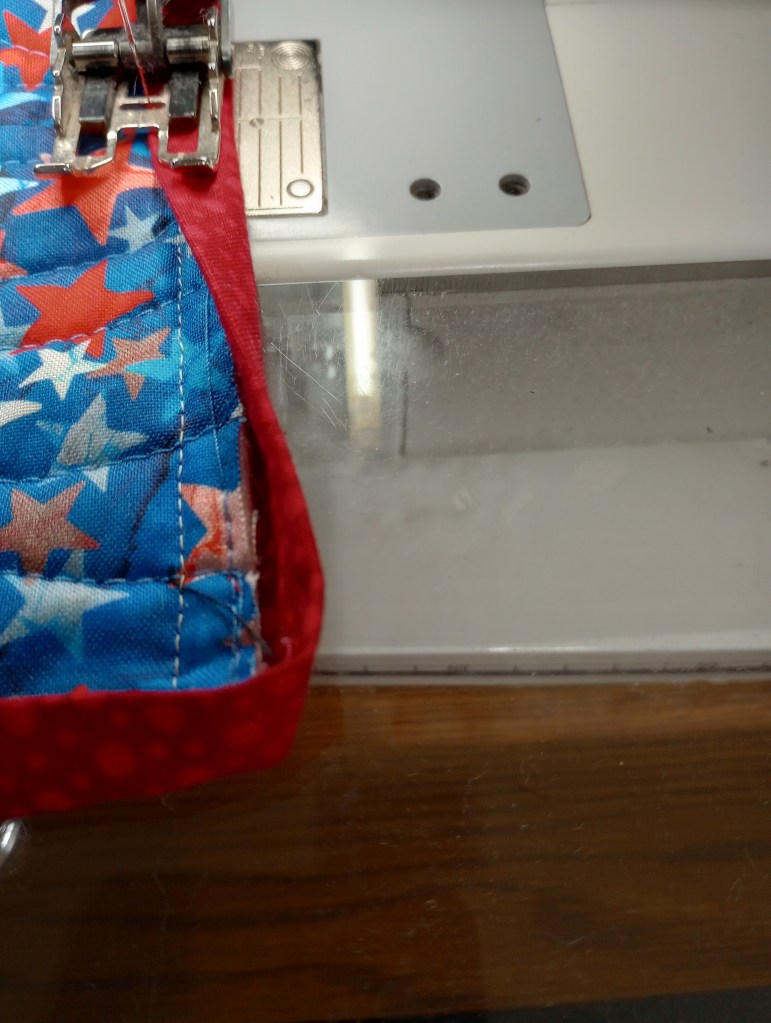
Go slow, take your time, and look carefully. Here’s an example of how it looks on another binding when the quilt is rotated just one stitch too to soon.
In this photo, the next stitch would have landed on the flange, not on the binding fabric where it belonged. It was necessary to rotate the quilt back and take one more stitch.
This happens often. Before you begin stitching down the side, are your next couple of stitches going to land where you want them?
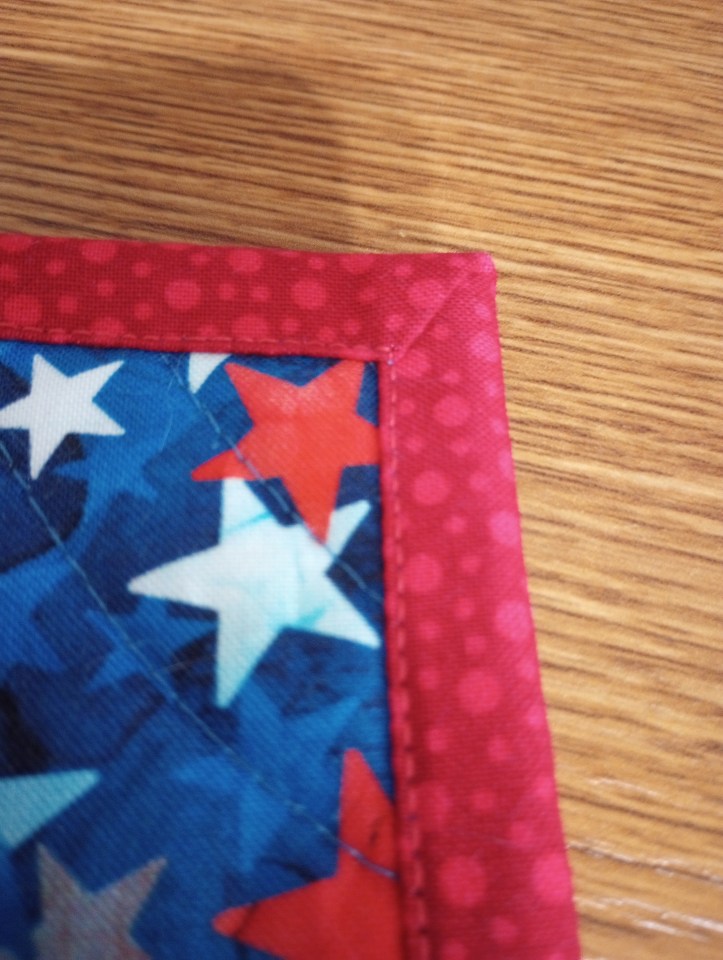
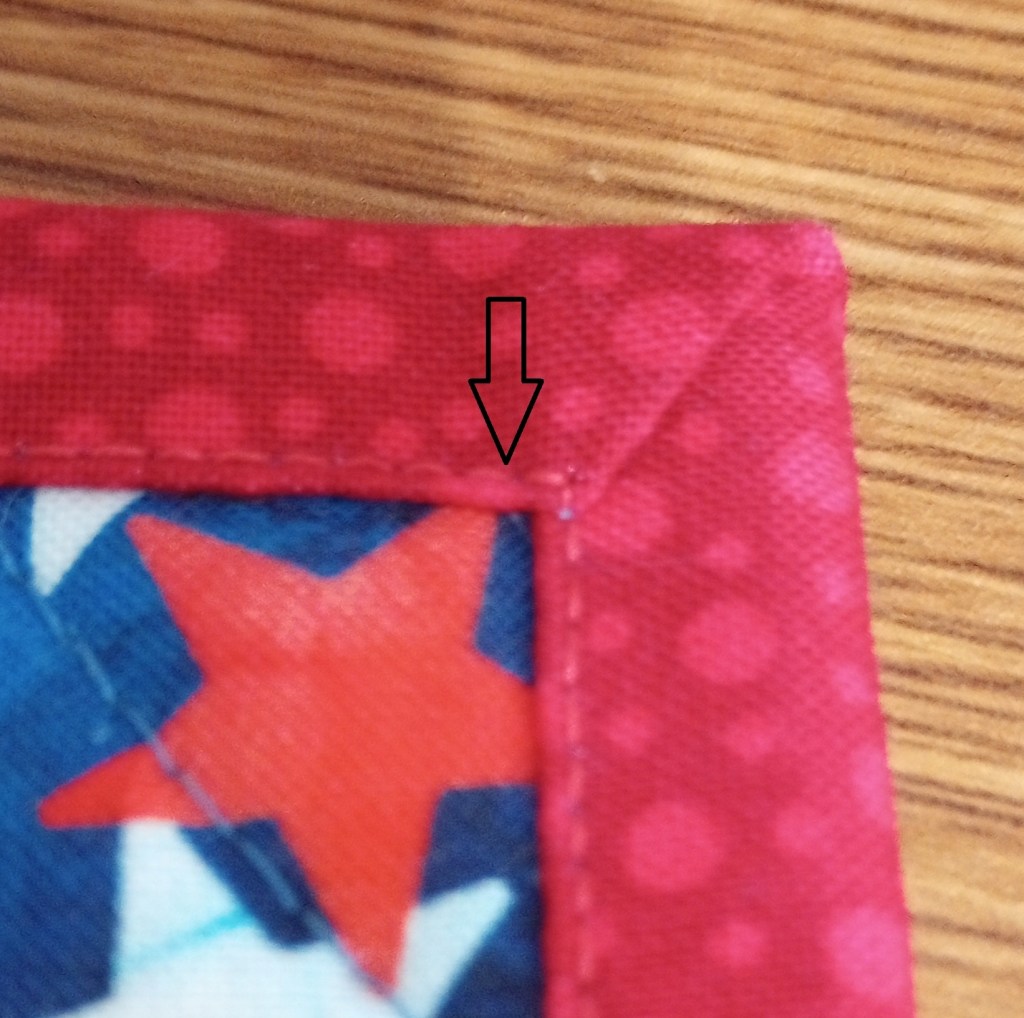
Here are the finished mitered corners on both quilts.

Taking your time and using this one simple trick makes all the difference!
