PALM BEACH COUNTY QUILTERS’ GUILD
COMMUNITY OUTREACH
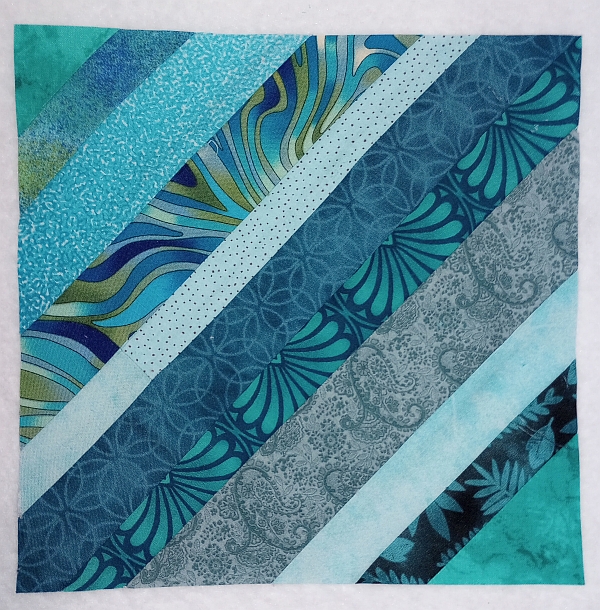
String Block Kit Instructions
Paper foundation method
Please join the Outreach team in making string quilts to share with our community!
Sharing with local veterans to honor their service, sharing with little ones to bring a smile to their faces, and sharing with those going through a difficult time so they know there are people who care about them.
Each month, pick up a single block string kit at the Community Outreach table before the guild meeting begins. Take it home, make the block, and return it to the Community Outreach table the following month.
When you sign it in, your name will be entered in monthly prize drawing.
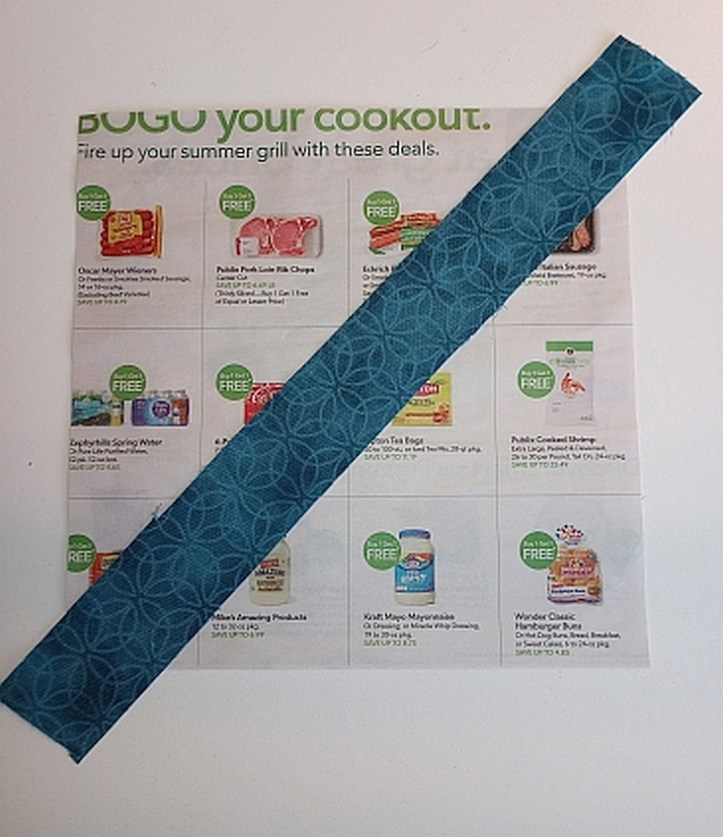
Your kit includes a paper foundation pre-cut to the correct size. (We recycle old Publix ads so please don’t throw yours away. Bring it to us instead!)
Please check your kit for the size to trim the finished block and for any design changes that may be included.
Begin by shortening your sewing machine’s stitch length.
(A normal 2.5 stitch length would be shortened to 1.5)
Make sure your stitches extend a bit beyond both ends of the paper.
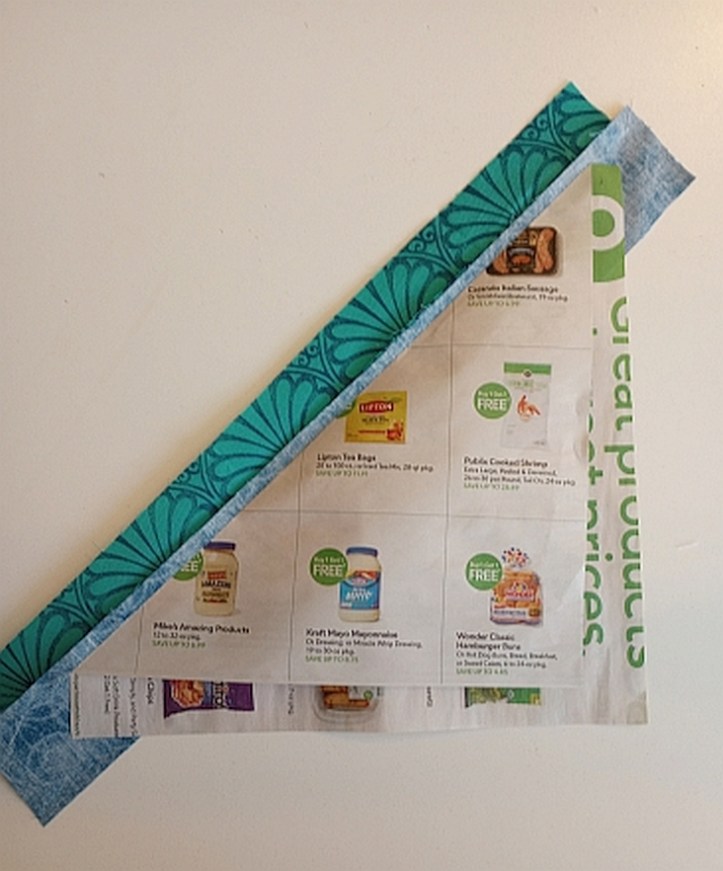
Give the paper a sharp crease.
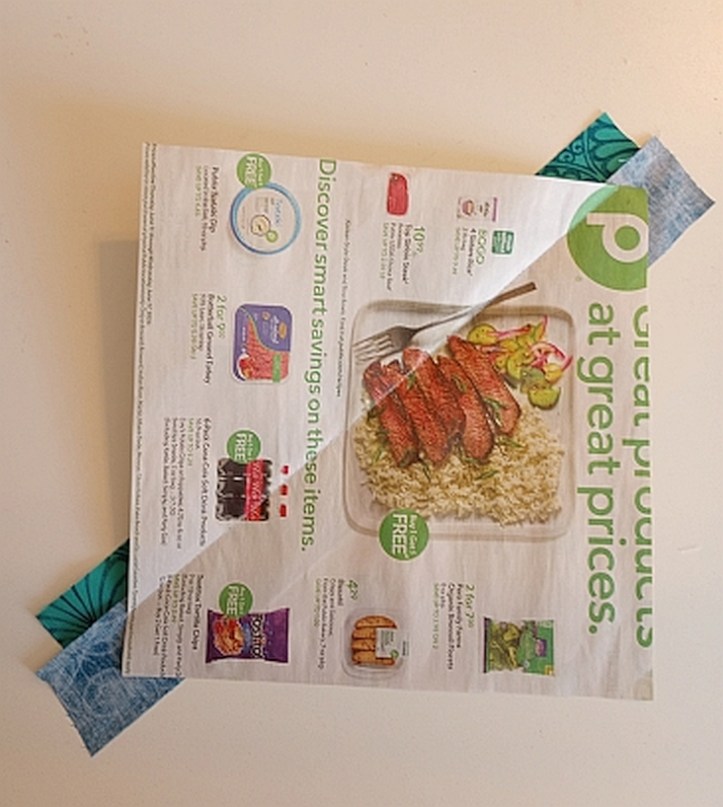
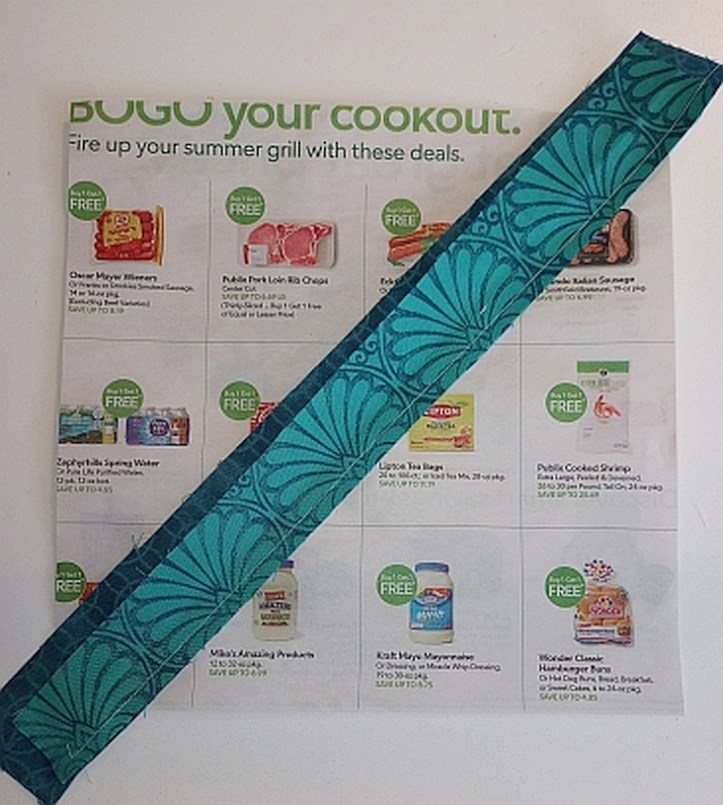
Sew the next string on the other side of the center string.
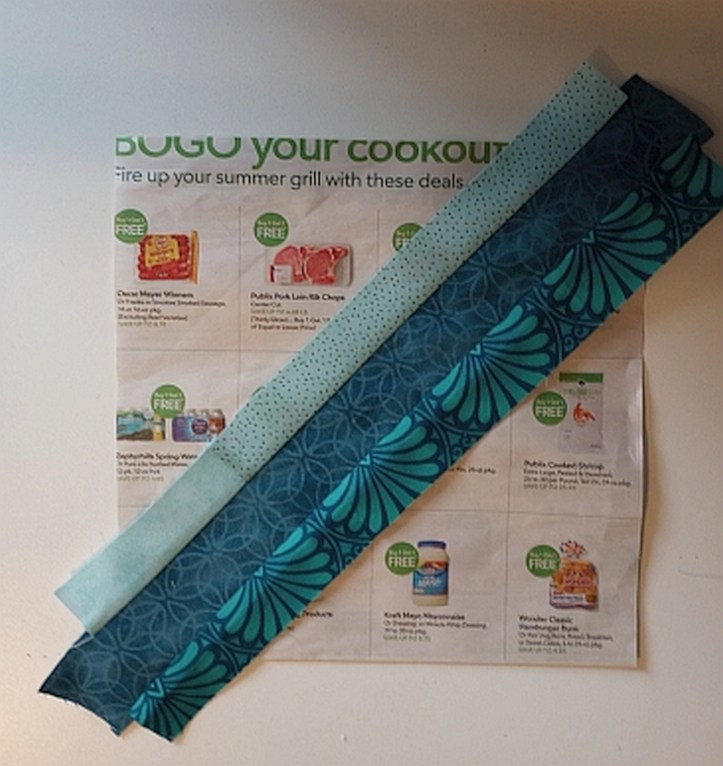
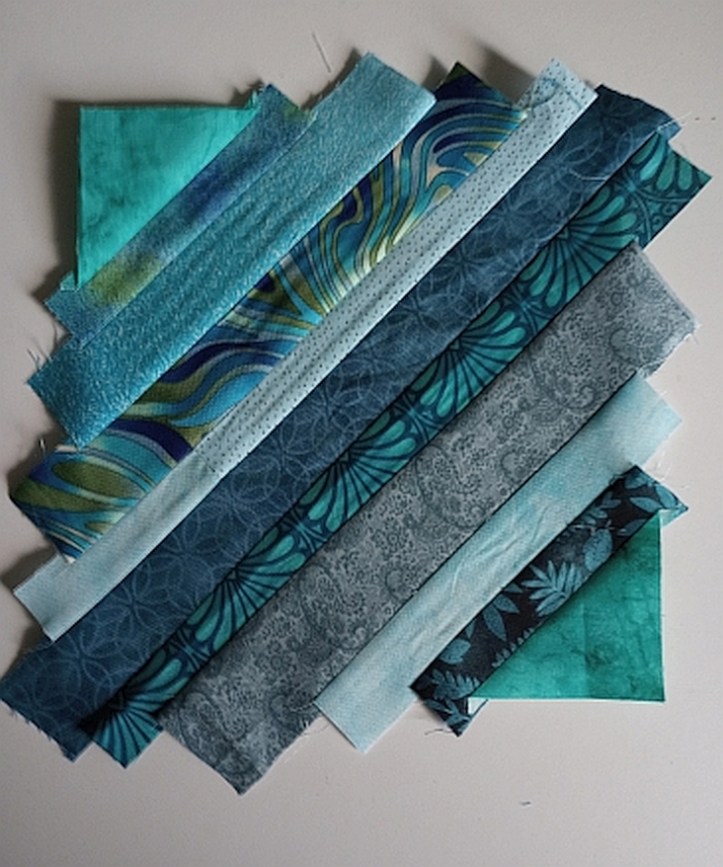
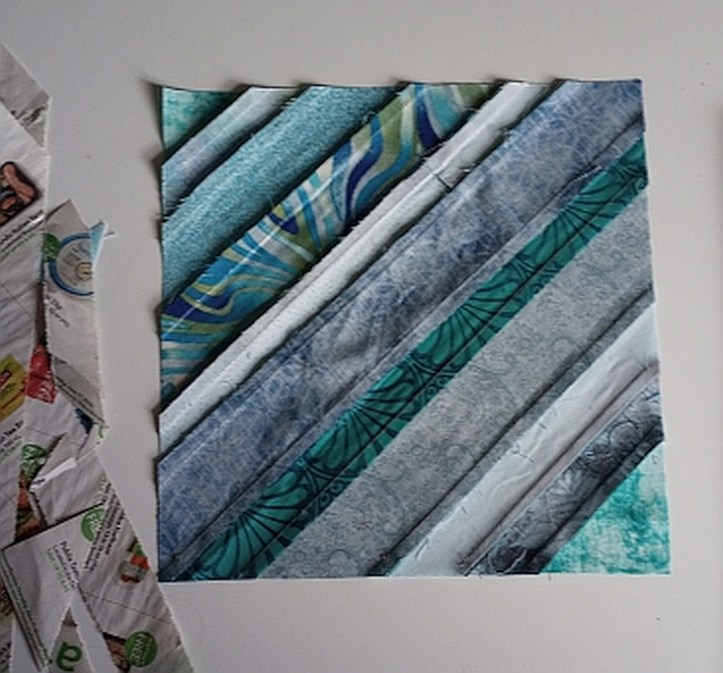
Please note: the kits are made using random lengths of scrap fabric.
If you need a longer string, piece two short strings together.
It’s also okay to use the same fabric twice in the block.
The scrappiness adds to the quilt’s charm!
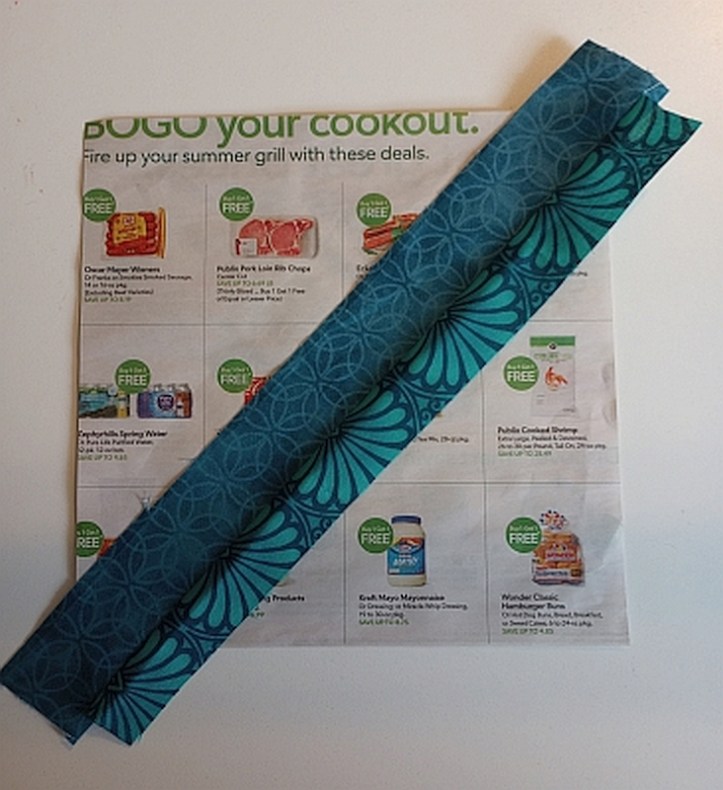
Press the strings open and crease the paper foundation with each new string.
You can stop here and choose to turn in your pieced block untrimmed or, continue with the next two steps.
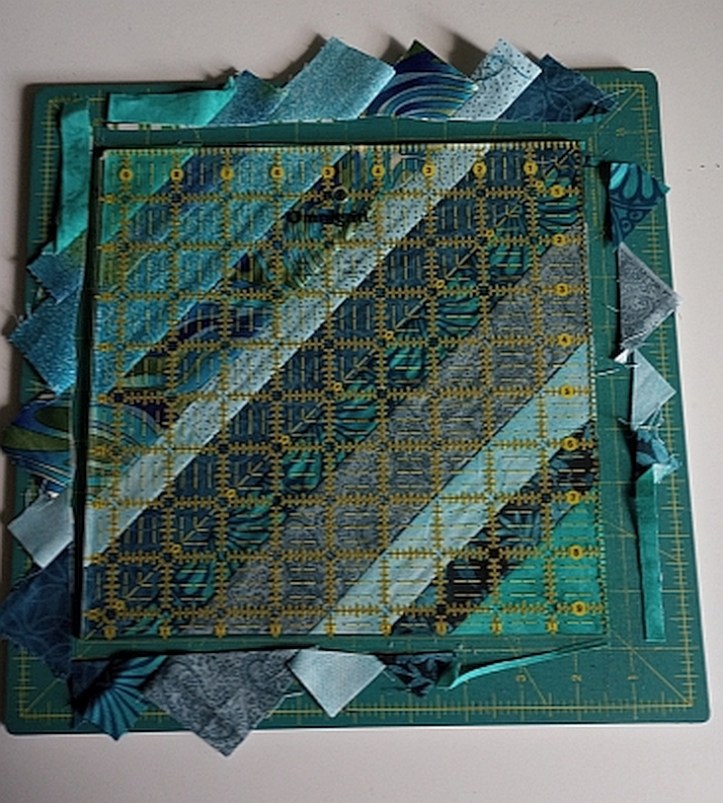
Check to see that all the seams extend beyond the edges of the ruler.
Be careful not to stretch the outer edges of the block.
Creasing the paper with each seam and using a shorter stitch length help to make removing the paper foundation a much easier task.