The idea for a quilt made from blue jeans came from seeing The Fleming’s Nine quilt here.
These instructions use smaller pieces of denim than the quilt referenced above. A quick Google search will bring up a lot of quilt ideas using the stained glass technique. It may be worth checking out before you begin cutting all of your jean pieces to see if a different pattern or design appeals to you.
Stained glass designs work well with denim because it ensures that none of the pieces are sewn directly denim to denim. The strip of regular black quilting cotton between the heavy fabrics results in seams that are less bulky and a quilt that’s more comfortable to use.
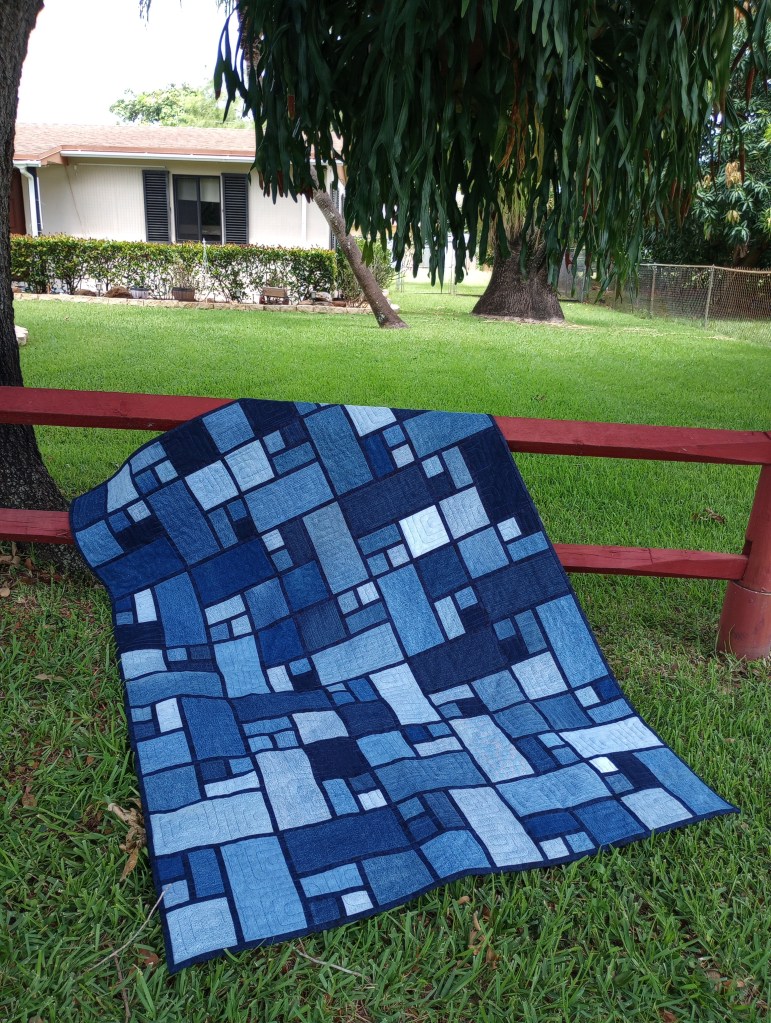
The quilt below is composed of 35 blocks and finishes at 50″ x 70″.
As you piece the top, press all seams toward the black sashing. You can see from this photo showing the back of a row, pressing toward the sashing results in the denim pieces butting next to each other. The seams lie smooth and flat.
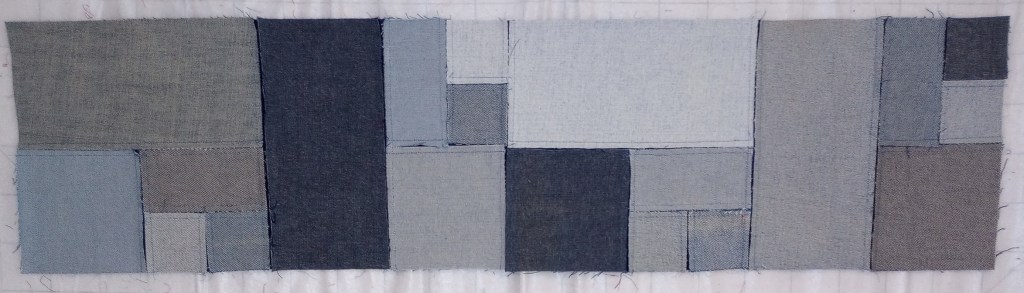
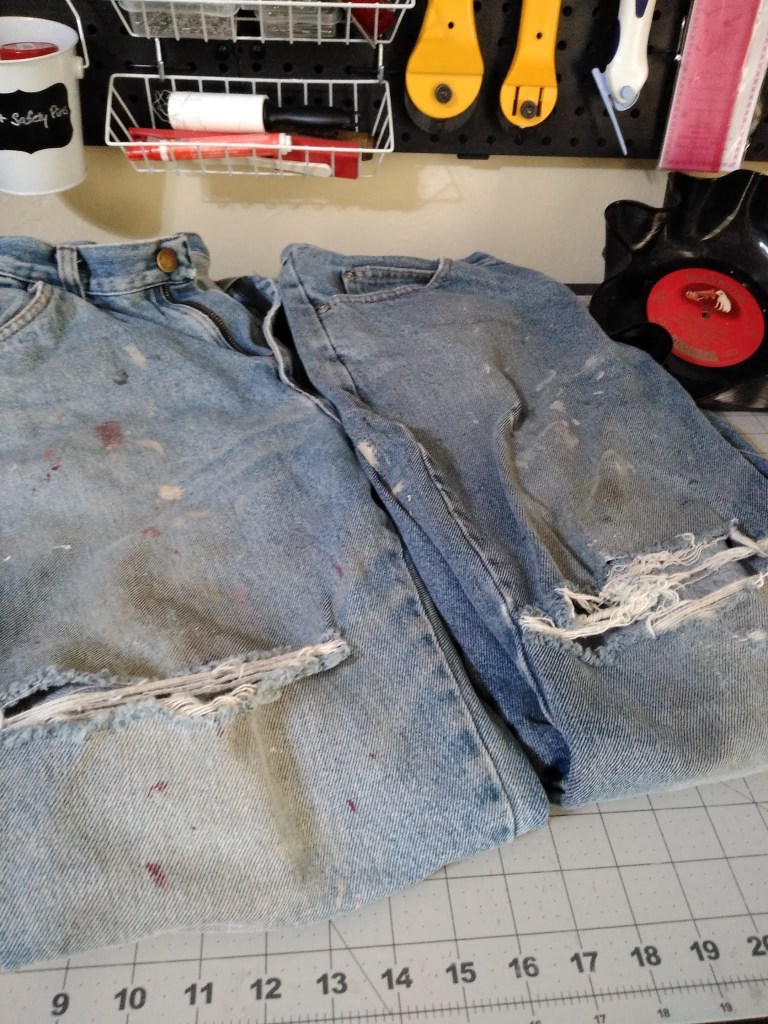
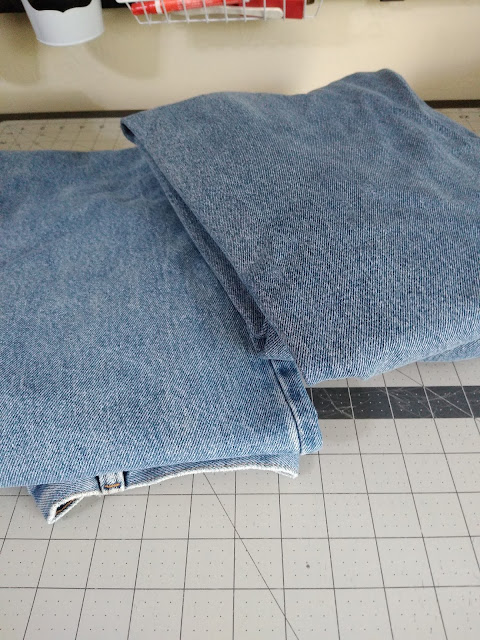
Collecting jeans in varying shades from light to dark blue gives the quilt interest. “Jeans” and “denim” are both used in this post to refer to upcycling fabric from blue jeans.
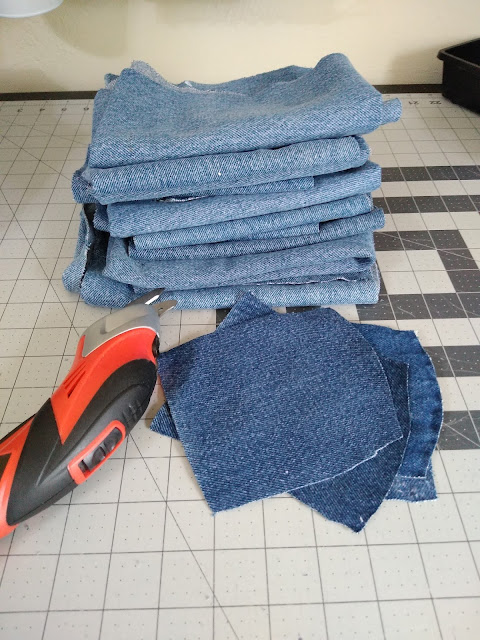
Some jeans quilts are made using all the fabric, including the seams. This one doesn’t. The jeans were “de-boned”, a term made famous when it was coined by Bonnie Hunter. Neither the seams nor the waistband was used.
After deboning, the pieces were cut into (70) 5″ x 10″ rectangles.
There are 35 blocks and each block requires two of the rectangle shaped pieces.
It’s difficult to gauge how many pairs of jeans this quilt took to make. There were some very, very worn out pairs among them! The backs of the legs were fine and the inside of the back pockets always has some nice dark denim surprises waiting. The quilt took less than 10 but more than 5 pairs of jeans.
For each block:
Cut the following pieces from the 5″ x 10″ rectangles of denim fabric
- 5″ x 10″
- (2) 2 1/2″ squares
- 5″ x 2 1/2″
- 5″ square
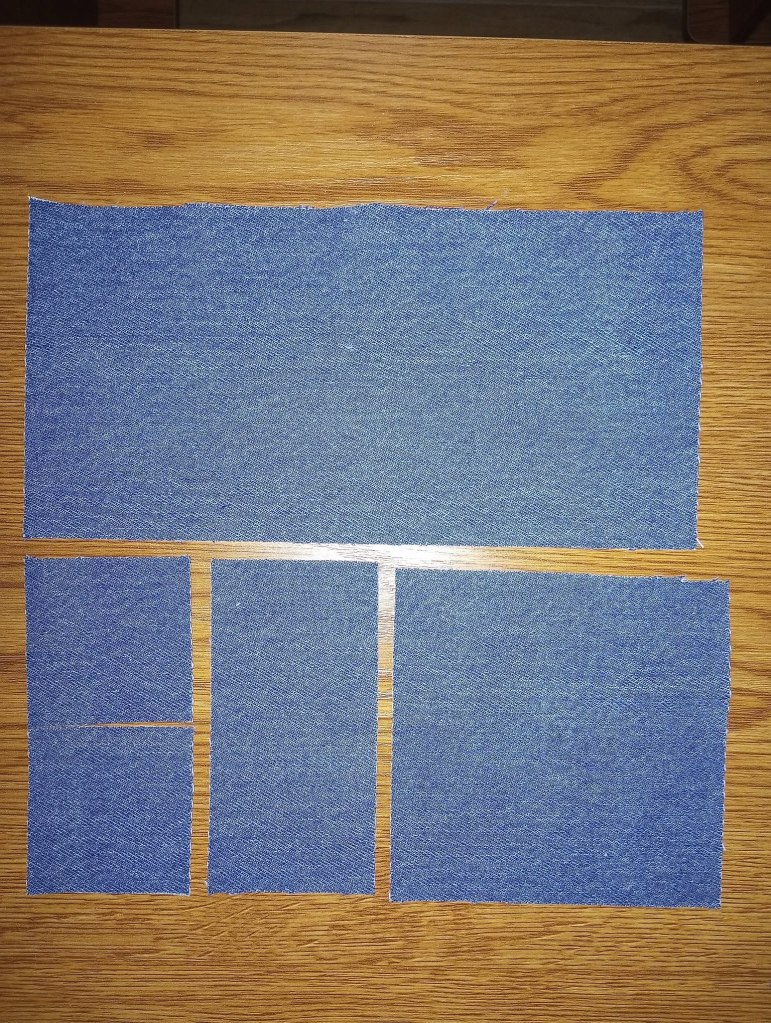
For each block:
Cut the following strips from sashing fabric
- (2) 10″ by width of fabric
- (2) 5″ by width of fabric
- (1) 2 1/2″ by width of fabric
Cross-cut each strip into 1″ wide pieces. The quilt top requires
- (63) 1″ x 10″
- (70) 1″ x 5″
- (35) 1″ x 2 1/2″
Set aside 28 of the strips measuring 1″ x 10″ . They’ll be used as sashing between the blocks.
Reserve leftover 1″ x 10″ pieces. They’ll be added to the additional sashing strips listed below to join the rows in Step 11.
Binding and additional stashing:
- (6) 1″ by width of fabric sashing for rows
- (7) 3″ by width of fabric for binding
- (If the binding will be stitched down by machine, cut the strips a little wider at 3 1/4″)
- (If the binding will be stitched down by machine, cut the strips a little wider at 3 1/4″)
PIECING INSTRUCTIONS
Step 1: Set aside half on the 2 1/2″ squares of denim.
Step 2: Sew a sashing strip to all the remaining pieces of denim.
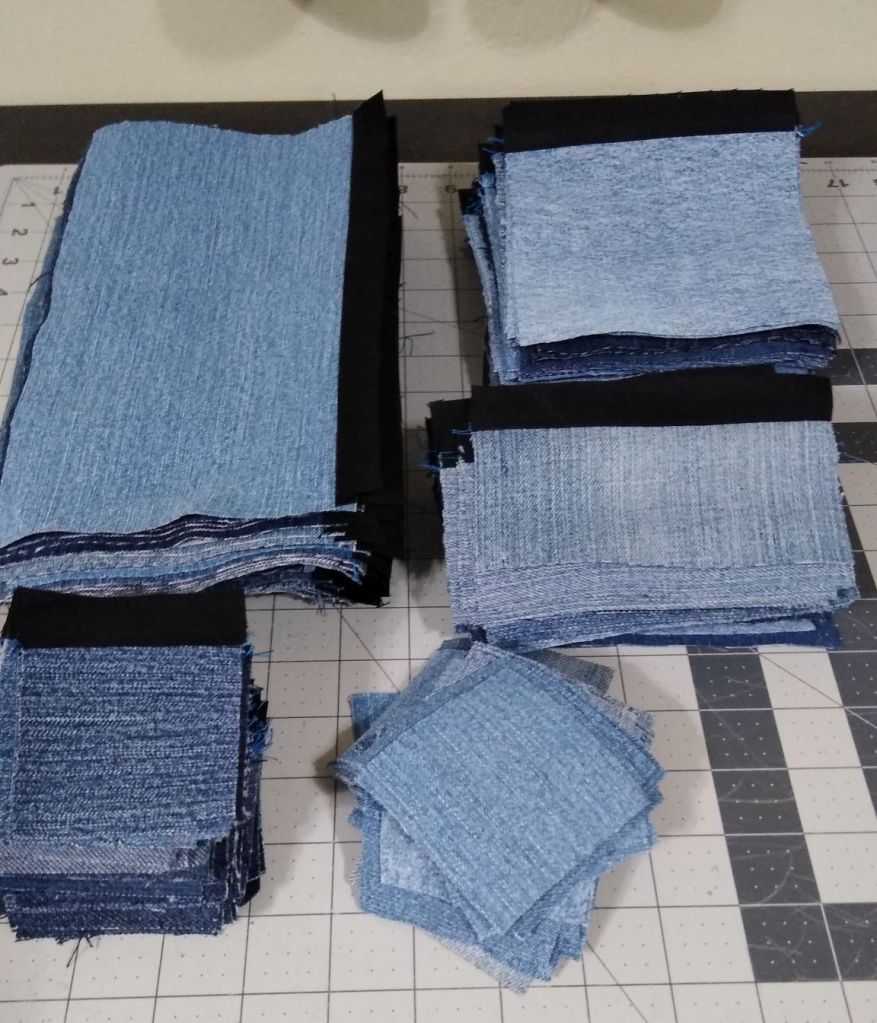
Step 3: Sew 2 1/2″ squares with the black sashing strips to the 2 1/2″ squares that were set aside in Step 1.
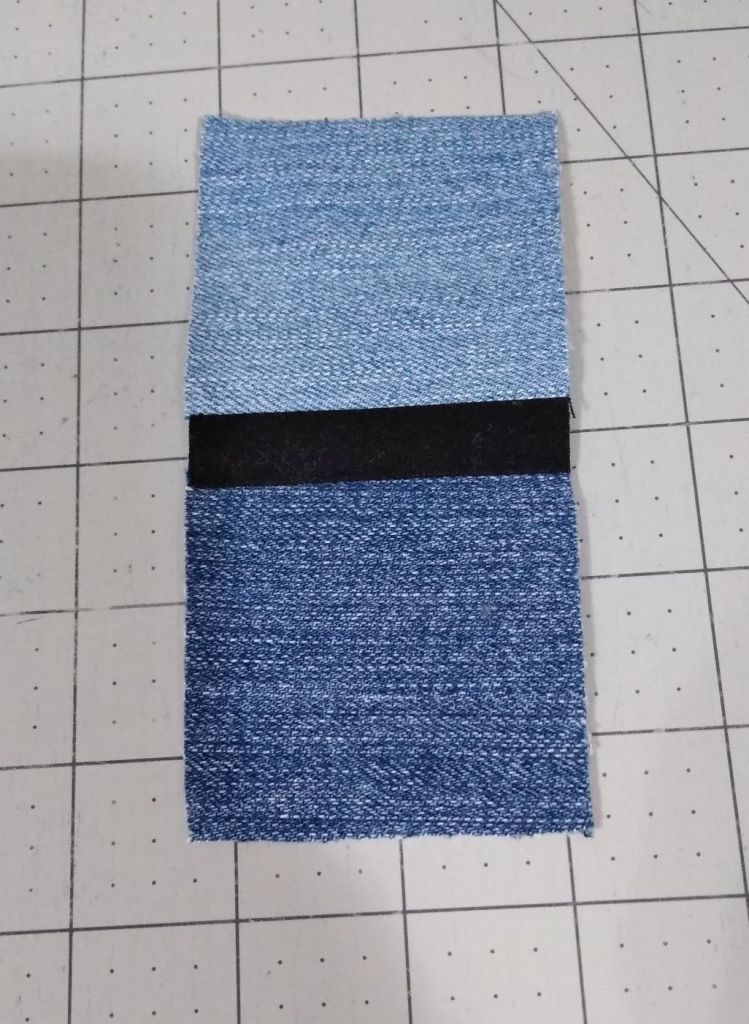
Step 4: Sew the black sashing edge of the 2 1/2″ x 5″ unit to each pair of squares.
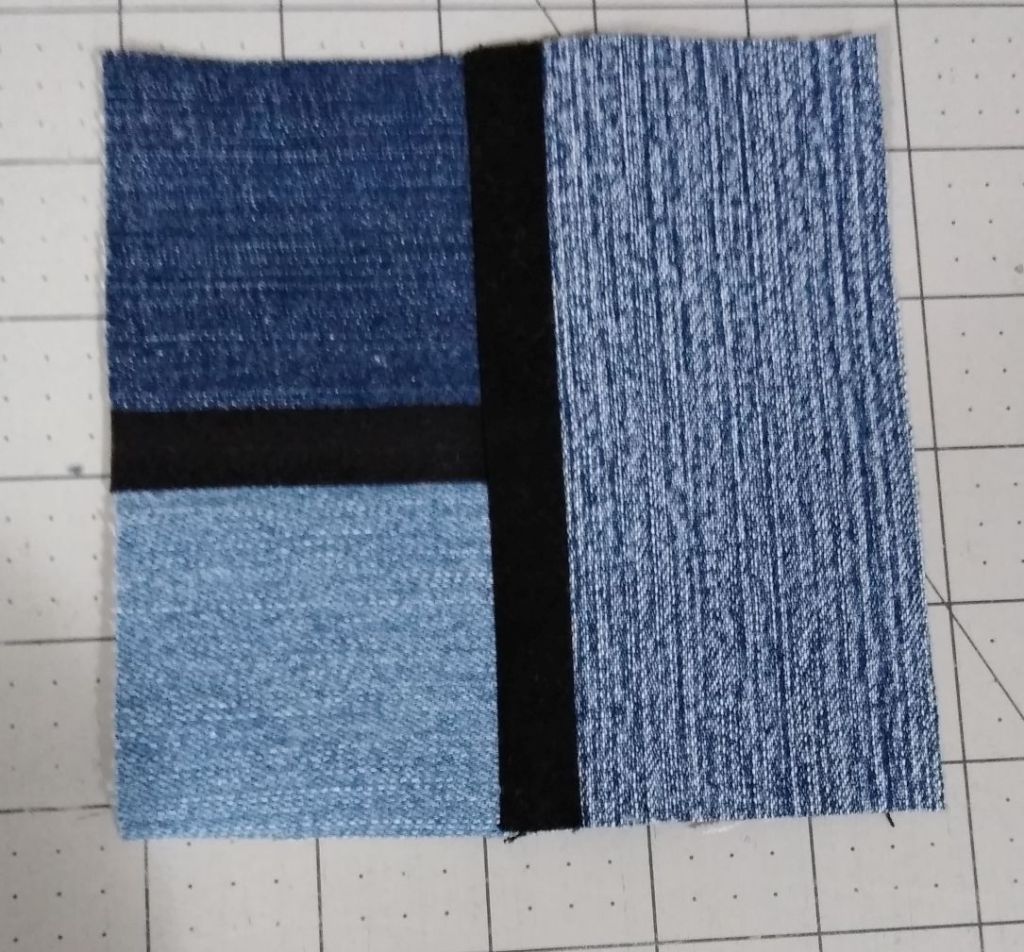
Step 5: Sew the black sashing edge of the 5″ square to the bottom of the previous unit.
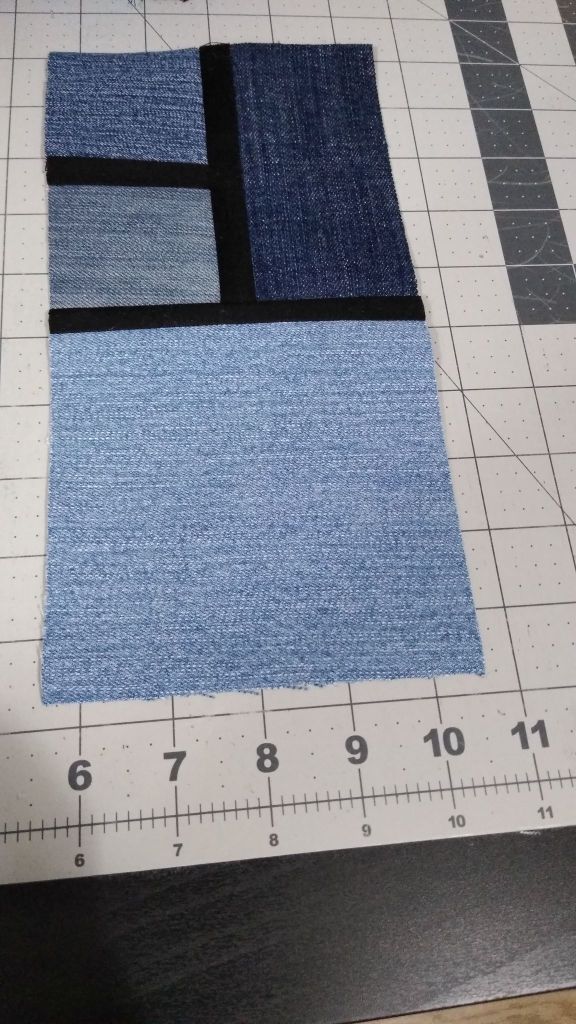
Step 6: Sew the black sashing edge of the 10″ x 5″ square to the side of the previous unit.
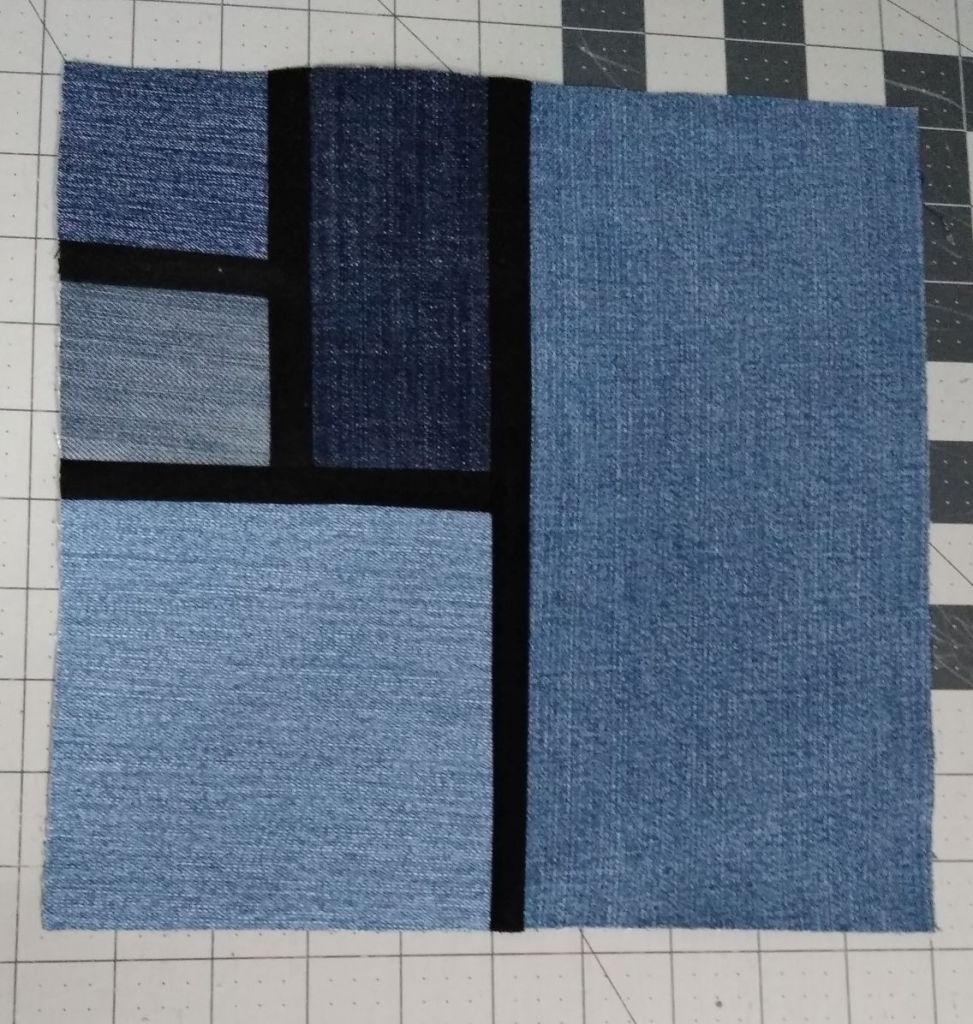
Construct all of your blocks with the pieces positioned the same direction as shown in the photo above.
Please note: before continuing you may want to lay all your blocks out and number them to disburse the light and dark denim fabrics as much as possible.
Step 7: Set aside 7 blocks
Step 8: Lay the remaining blocks out in pairs. Rotate the block on the right counter clockwise. Join the pair of blocks using a 1″ x 10″ sashing strip.
Repeat with all 28 blocks to create 14 pairs.
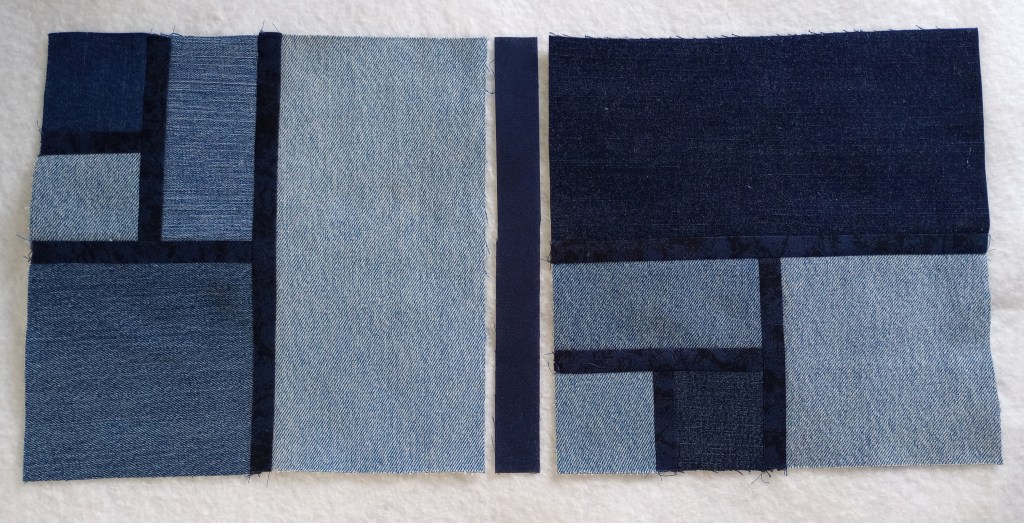
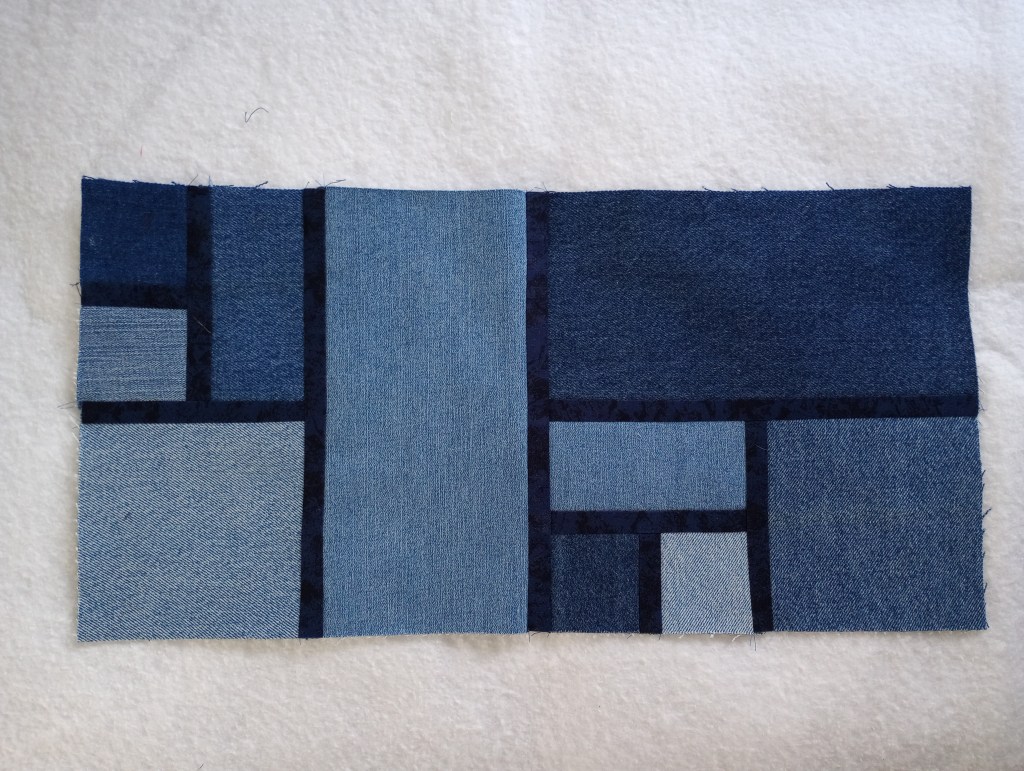
Step 9: Join the 2 of the pair units using a 1″ x 10″ sashing strip as shown below. You’ll now have 7 rows consisting of 4 blocks each.
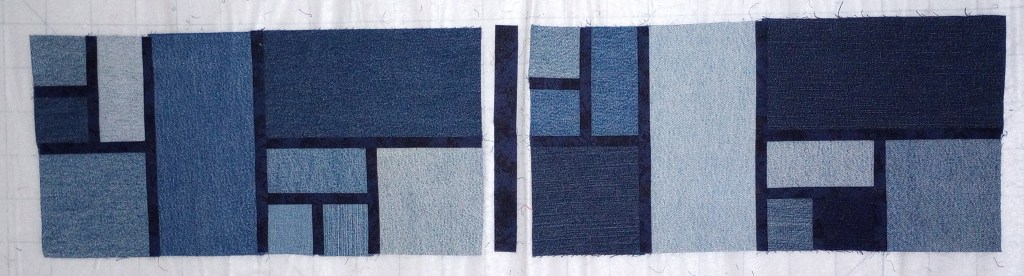
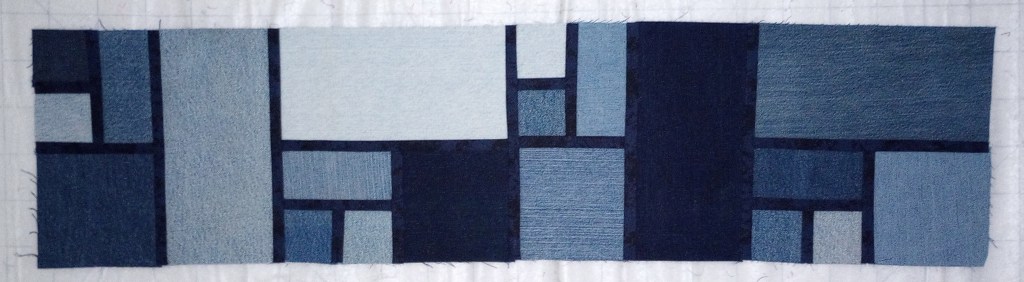
Step 10: Until this point, the blocks and rows have been identical.
Now it’s time to turn every other row upside down. Look closely at the two rows below. Notice in the first block of row #1, the largest piece in the block 5″ x 10″, is on the right side of the block. In row #2, the largest piece in the block, 5″ x 10″ is on the bottom of the block.
Add the blocks that were set aside in Step 7 to the end of the rows using the 1″ x 10″ sashing strips.
Make sure to turn the block at the end of the row so it’s positioned in the same direction as the first block of the row.
Numbering the rows and the last block of each row will help ensure they remain in the correct position.
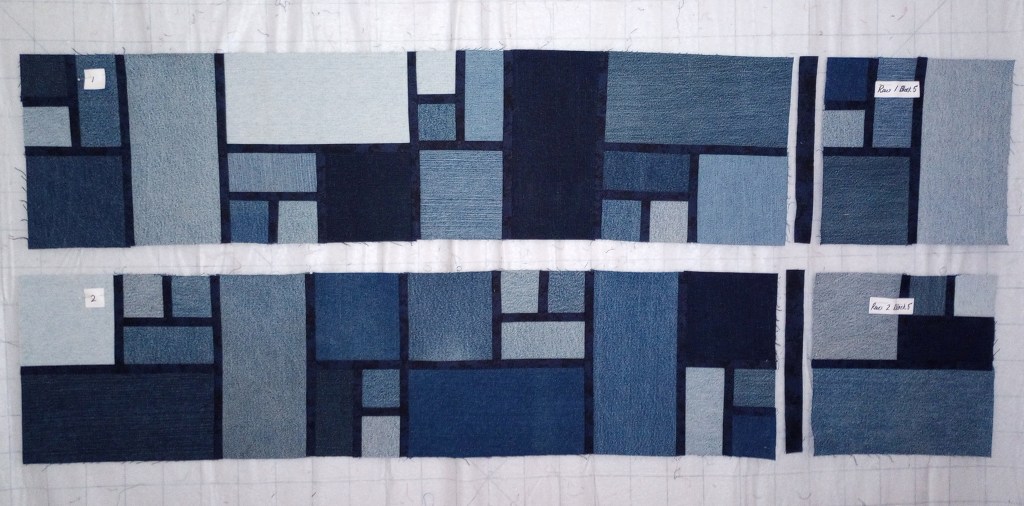
Step 11: Join leftover 1″ x 10″ sashing pieces to the (6) 1″ x width of fabric strips listing in the cutting information. Trim so they measure 1″ x 50″.
Join the rows using the 1″ x 50″ sashing.
(The quilt top is turned sideways in the photo below due to the limited space to take a photo.)
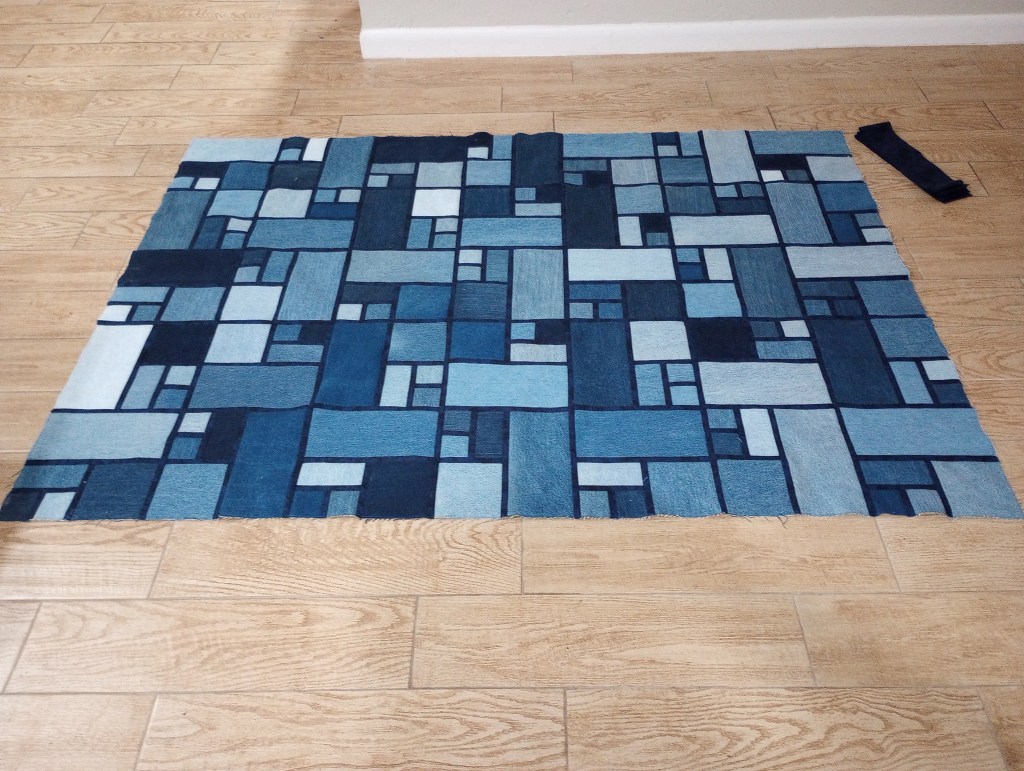
No batting was used to finish this quilt. It was backed with plush minky purchased at Hobby Lobby. It’s often on sale for 30 % off. If you upcycle old worn out jeans, or ones that no longer fit :-)…it’s a very inexpensive quilt to make!
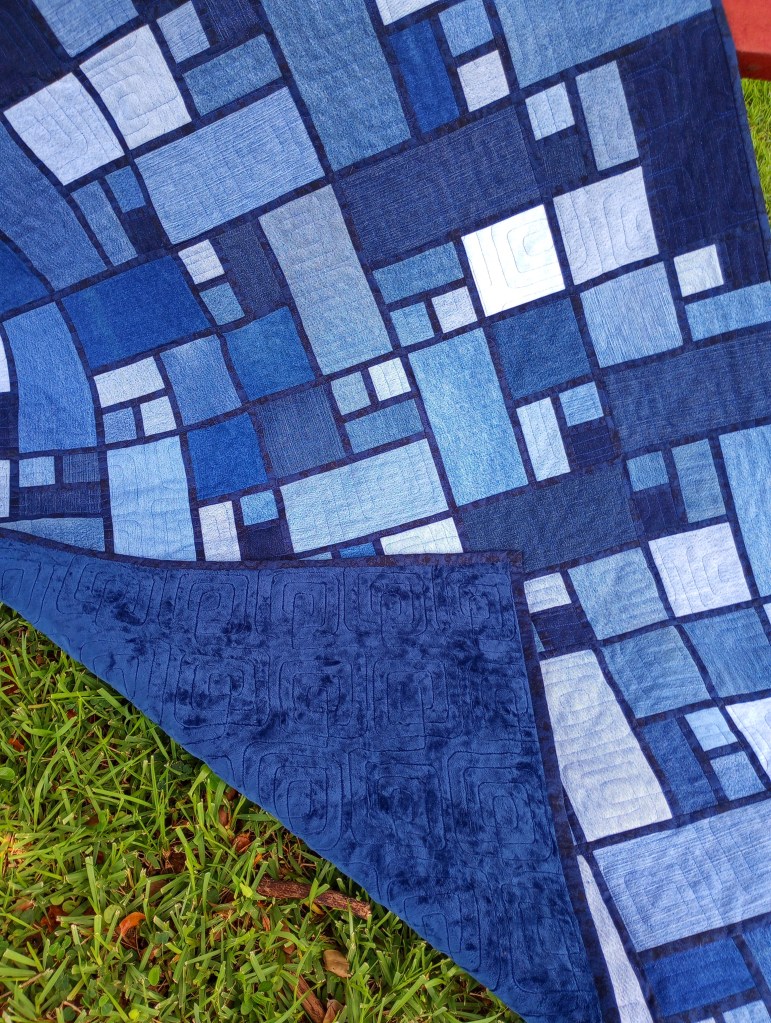
Using a 1/2″ seam allowance with the 3″ wide binding strips mimics the sashing strips using in the quilt top and finishes the outside edge of the quilt.
 Quilts Pieced with Purpose