PLEASE DON’T USE THIS TUTORIAL JUST YET!
Our block testers will confirm when it’s ready and this notice will be removed.
This method was originally developed by Sharyn Squier Craig in her book “Twist ‘n Turn”. The book is out of print but you can often find used copies on eBay or online book stores.
The magic formula to determine the length to cut your frames is to add 5 ½” to your center square (you can also use pieced blocks for the centers). For this tutorial, we’re starting with 6 ½” squares for the block center so we’ll cut 12” long framing strips.
6 ½” + 5 ½” = 12″
You can choose any width strips for the frames. This tutorial uses 3 ½” wide framing strips. The wider the framing strips, the more your center will “float” within the frame.
One last bit of math – and this is where it gets fuzzy.
To determine the FINISHED size of your quilt block, you have to drop the seam allowance from your cut center square and the width of your cut framing strip.
6 ½ – ½ = 6
3 ½ – ½ = 3
Add those two numbers together to get the FINISHED block size.
6 + 3 = 9
You’ll be squaring up the block to the UNFINISHED size so you now have to add the seam allowances back.
9 + ½ = 9 ½
Let’s get started!
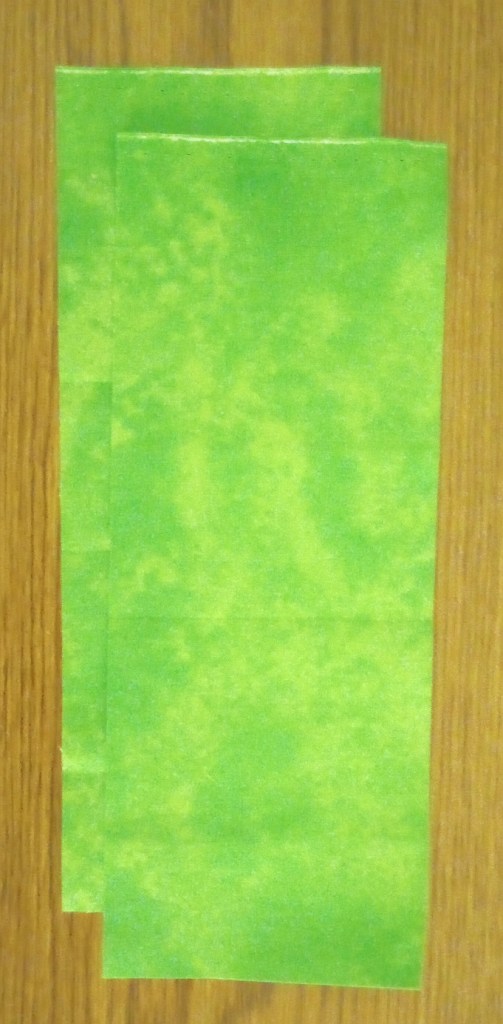
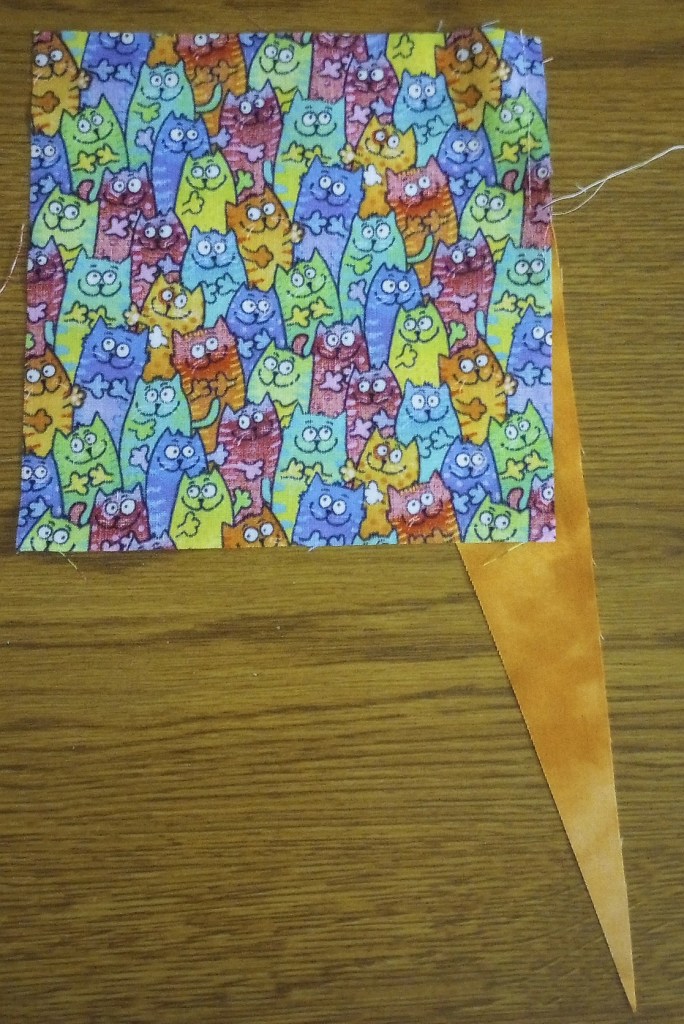
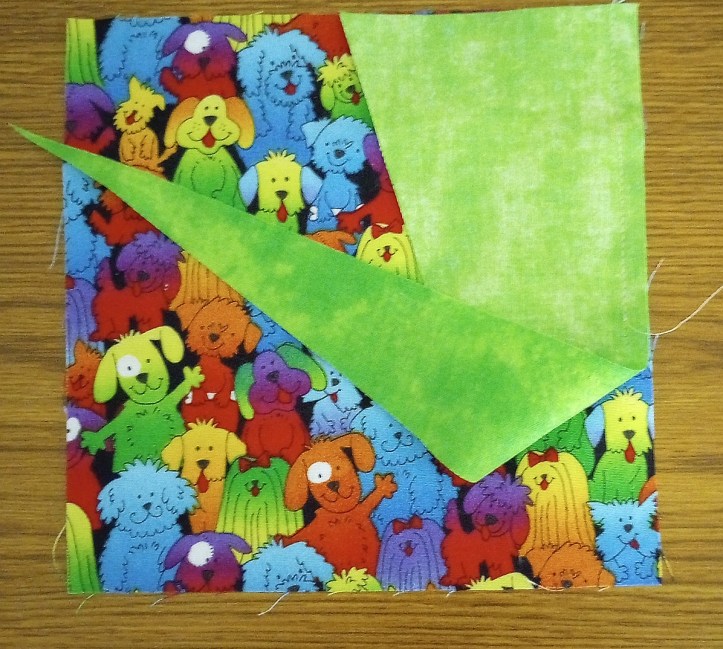
Cut 2 rectangles 3 ½” x 12″ for each of your center squares.
Layer the fabric right sides facing up.
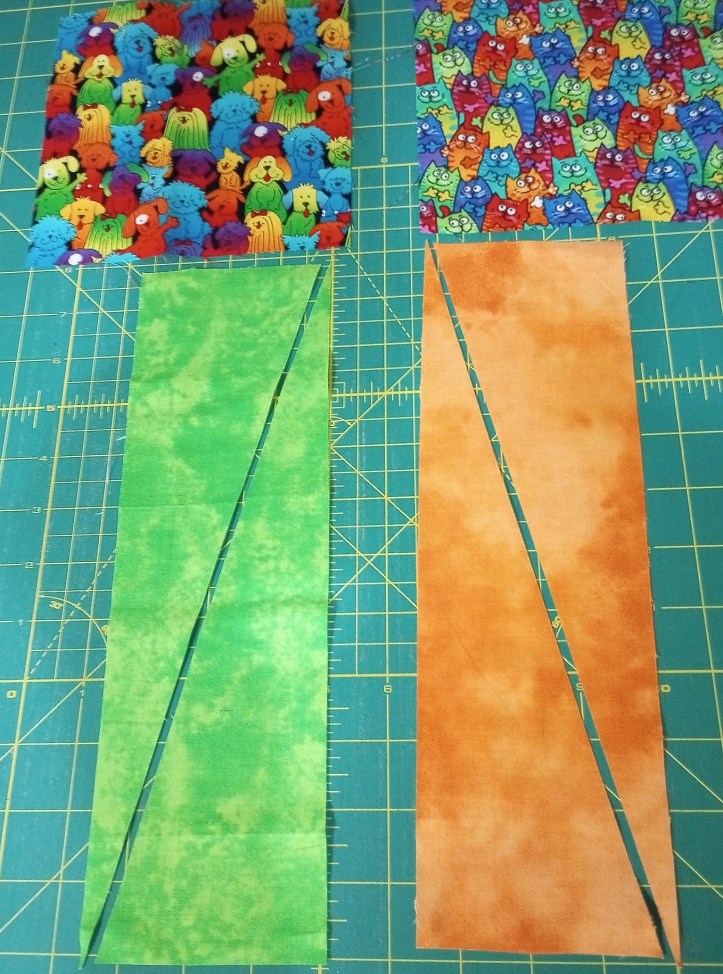
Cut each pair of strips on the diagonal from corner to corner.
The angle of your cut is important!
For left twist cut from the bottom left to upper right.
For right twist cut from the bottom right to upper left.
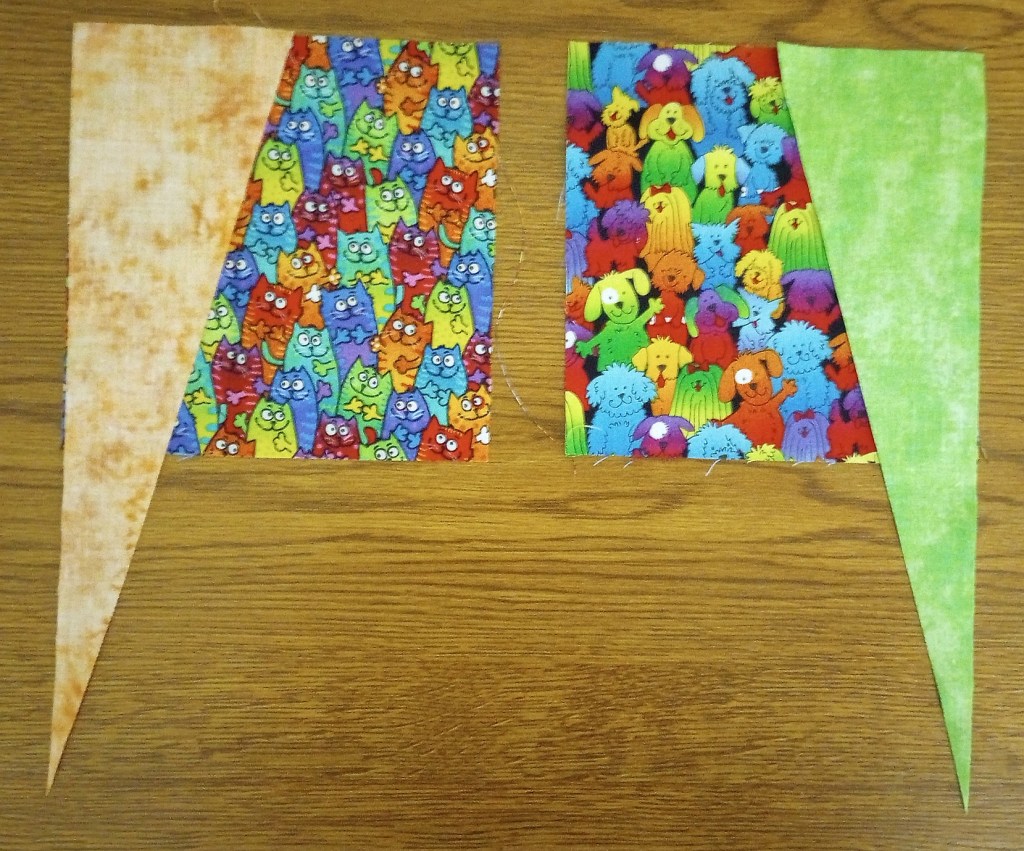
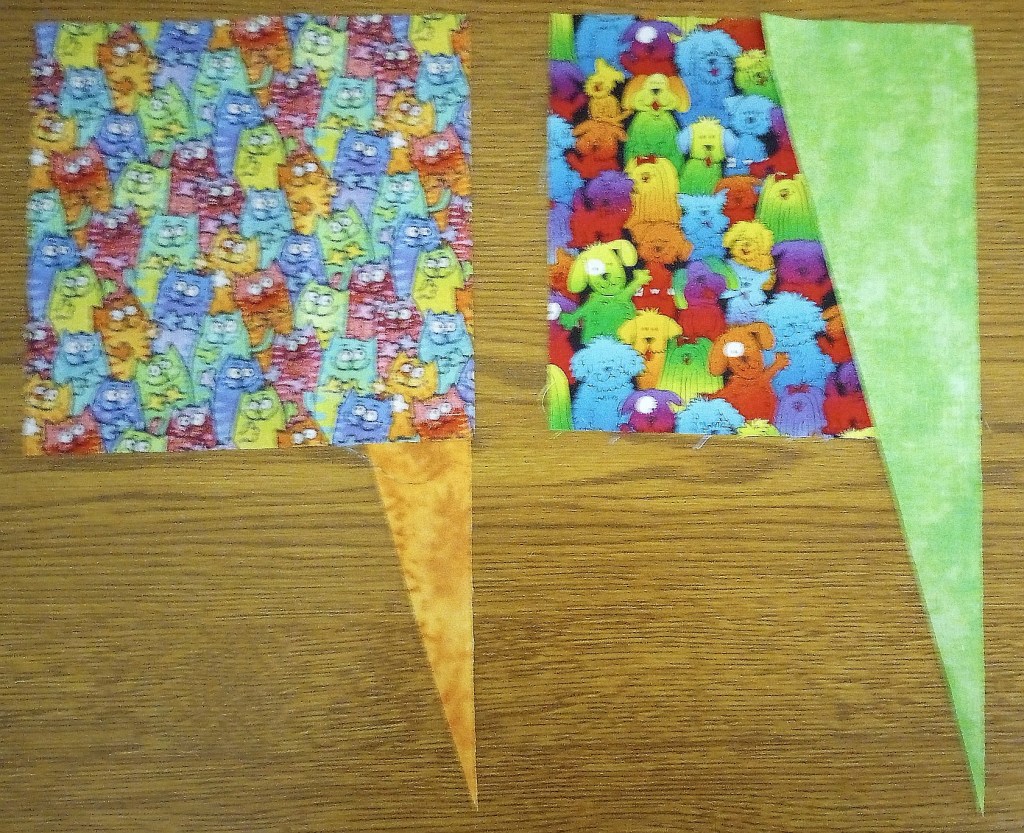
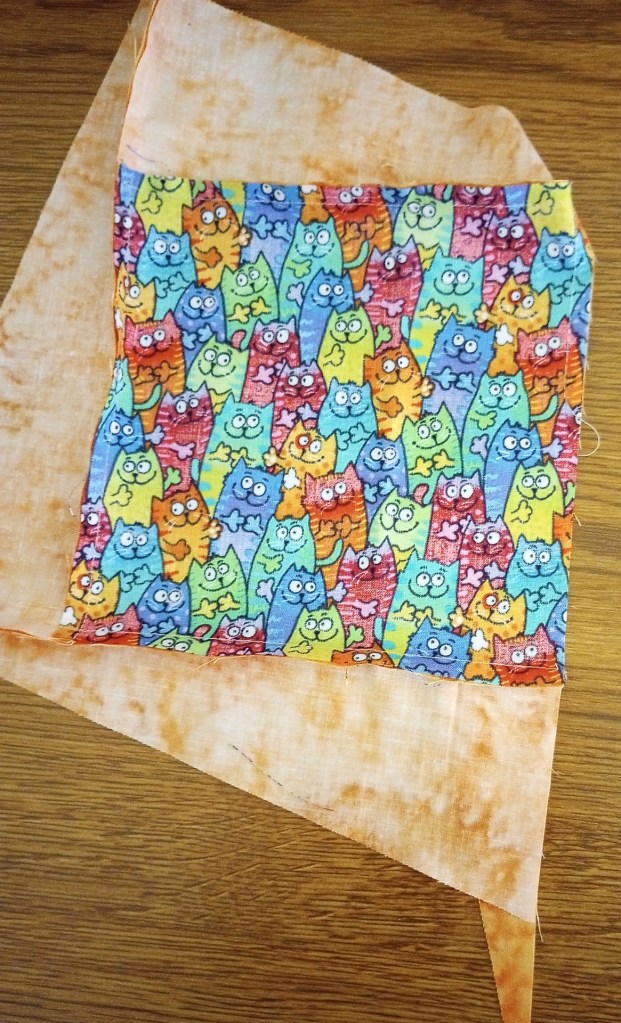
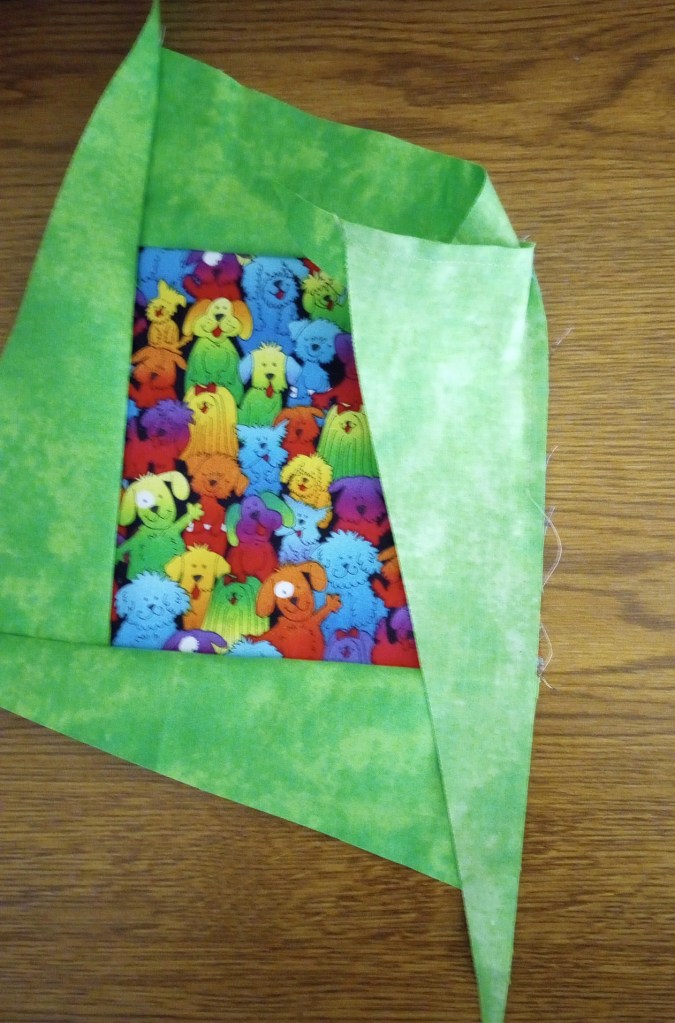
The first photo shows which side of your center you’ll be adding your first strip.
In order to sew the the left twist block (the cats) we have to flip the pieces upside down so the frame is under the block instead of on top of it.
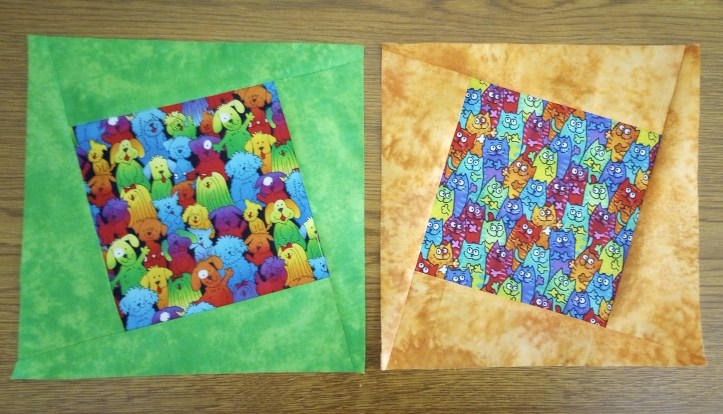
To avoid confusion, work on the left twist blocks first (in this example, the fabric with the dogs), and then the right twist blocks (cats).
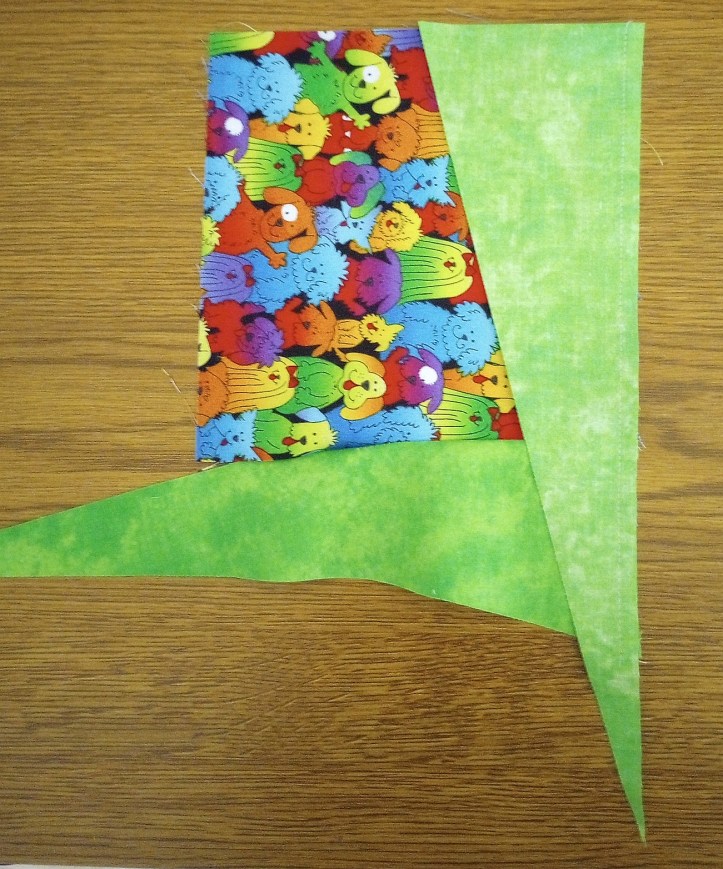
LEFT TWIST
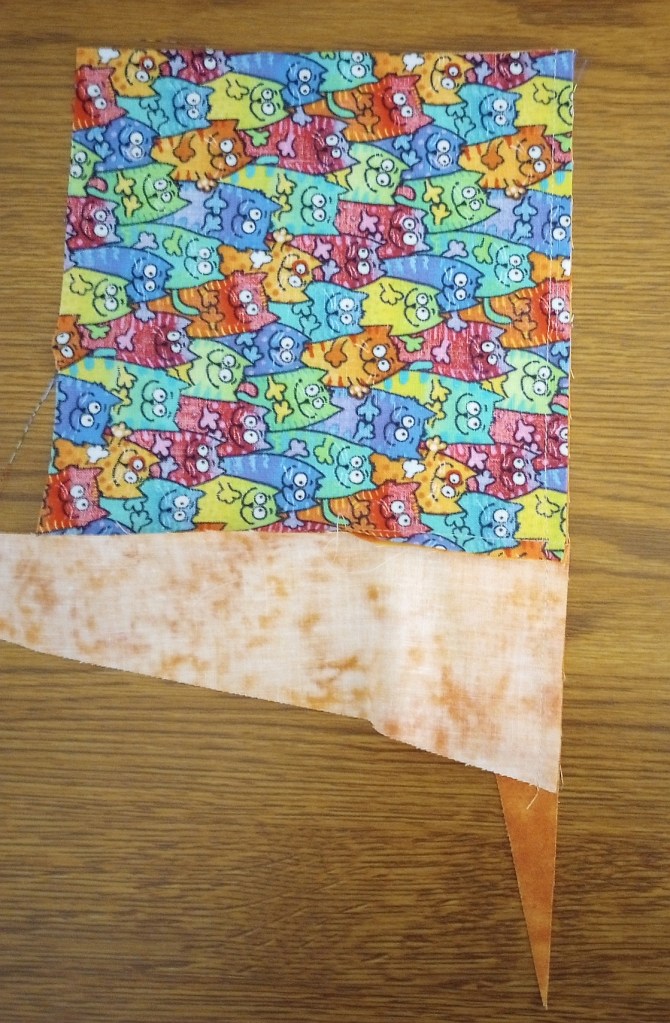
With right sides together sew a partial seam, approximately half way down the block.
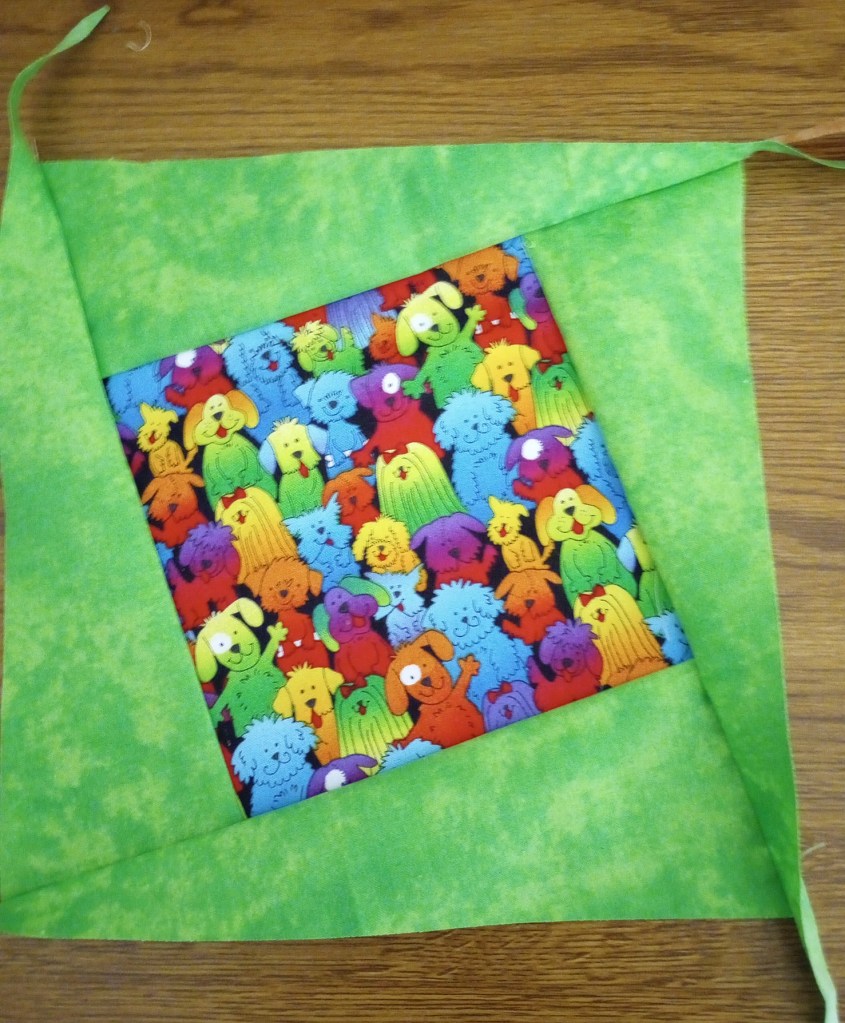
This is the only partial seam in the block. Finger press the block open.
(The diagonal cut makes those edges on the bias and easily warped. They’ll end up on the outside edge of the block so it’s best to avoid ironing until the block is completed.)
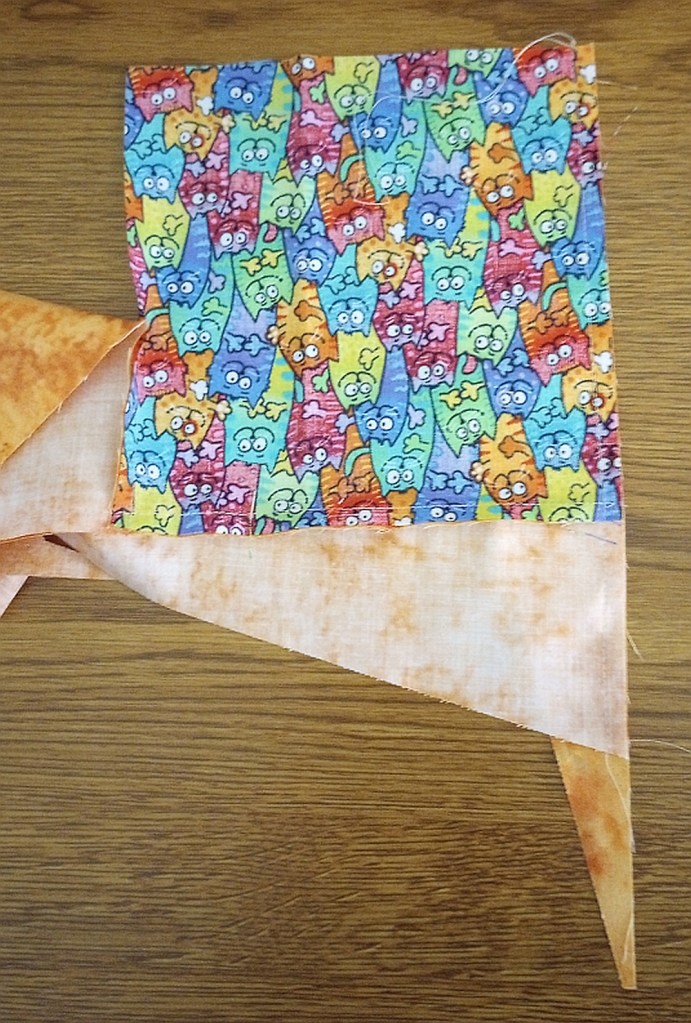
Rotate the block clockwise so the frame you just stitched is closest to you.
Sew all the way to the end and finger press open.
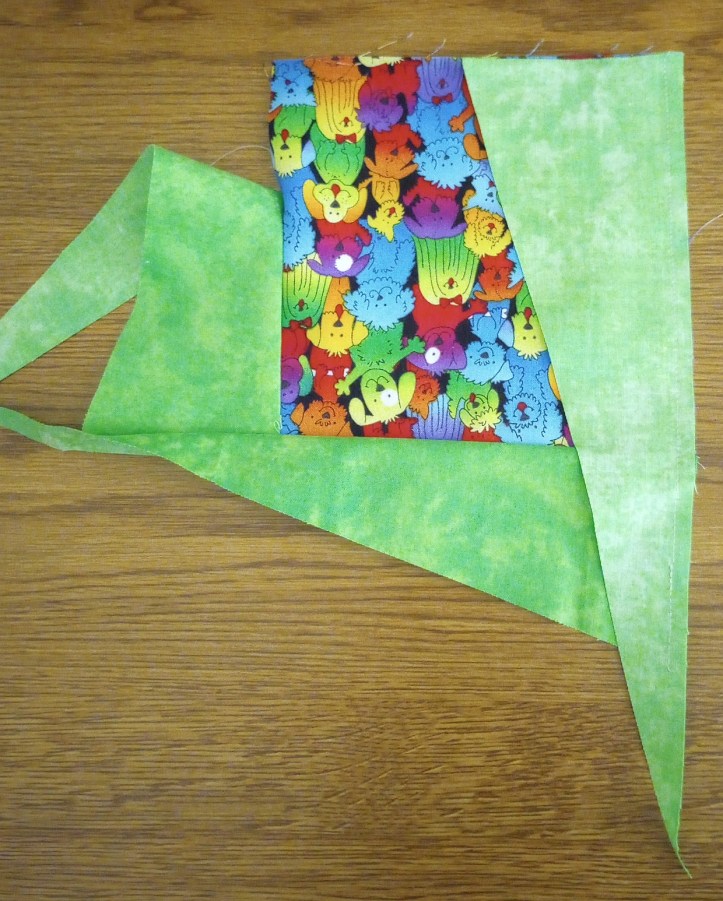
Again, rotate the block clockwise so the last frame you stitched is the closest to you. Sew all the way to the end and finger press open.
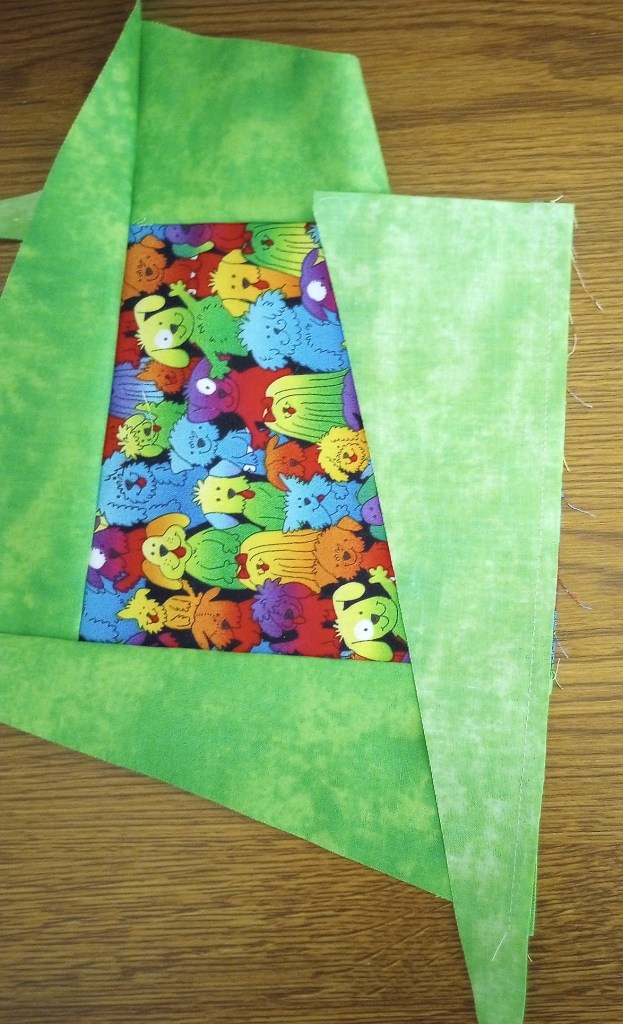
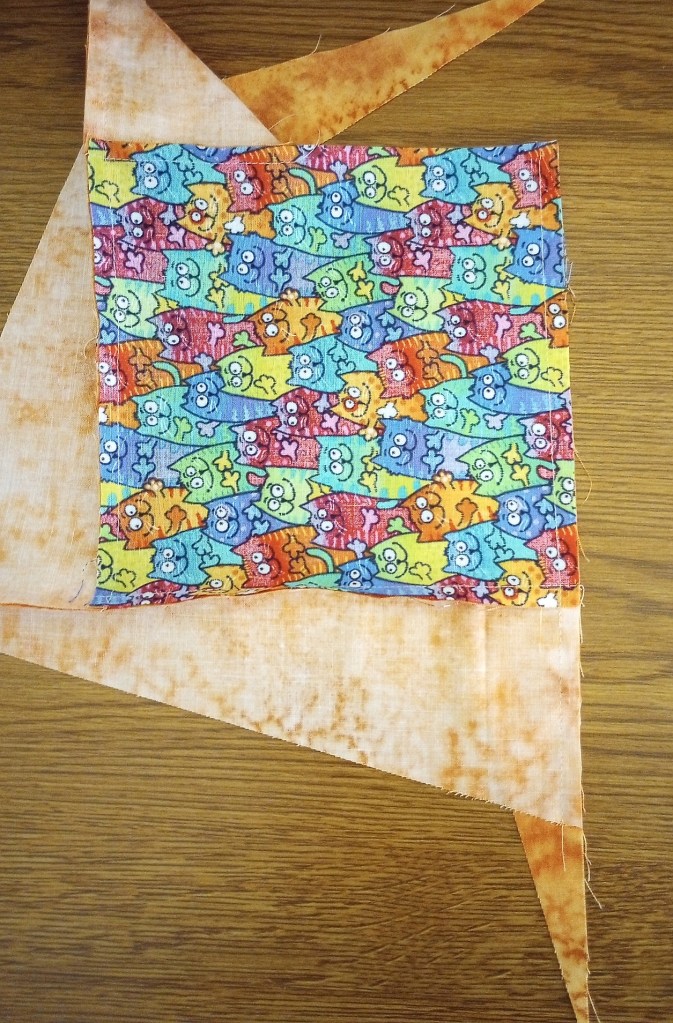
Rotate the block clockwise again and move the tail end of the partially sewn frame out of your way. Sew all the way to the end and finger press open.
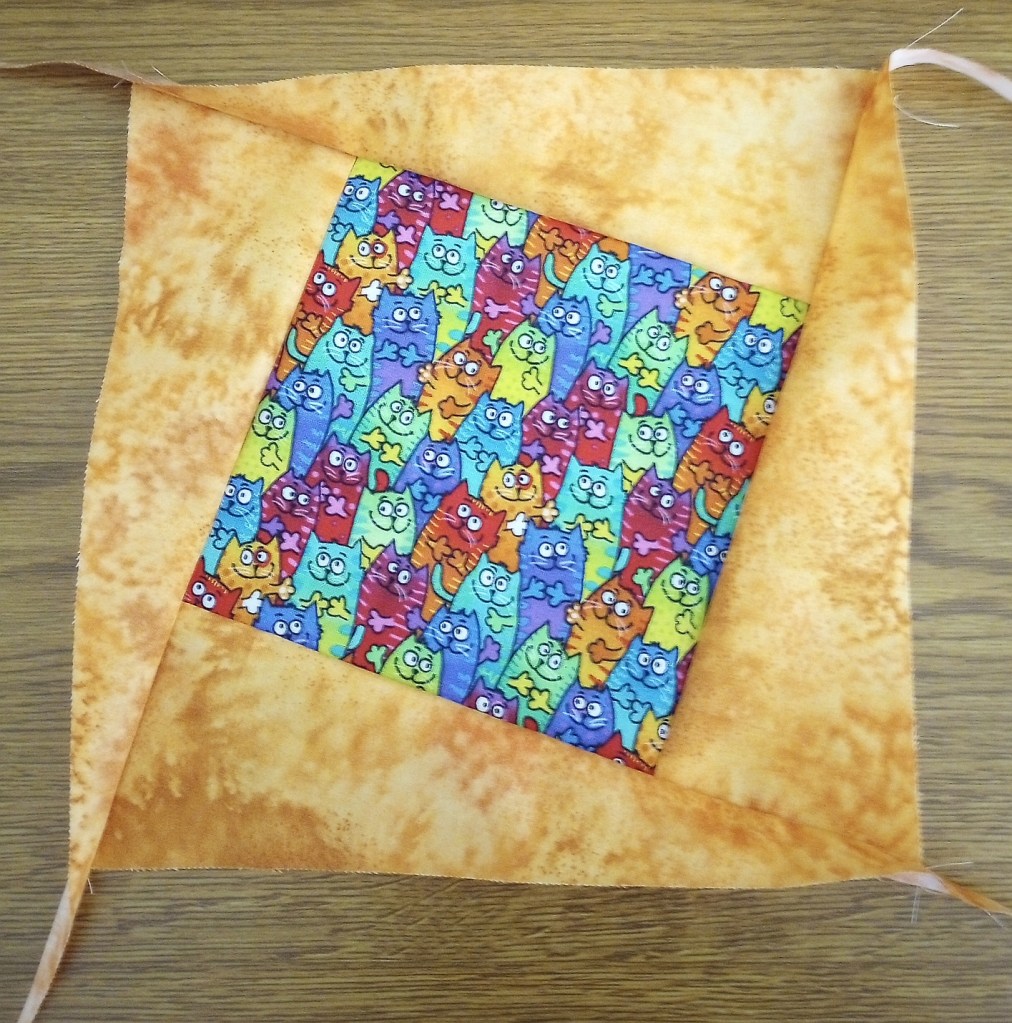
Rotate the block one final time and, slightly overlap a few of your previous stitches. Finish sewing the partial seam to the end.
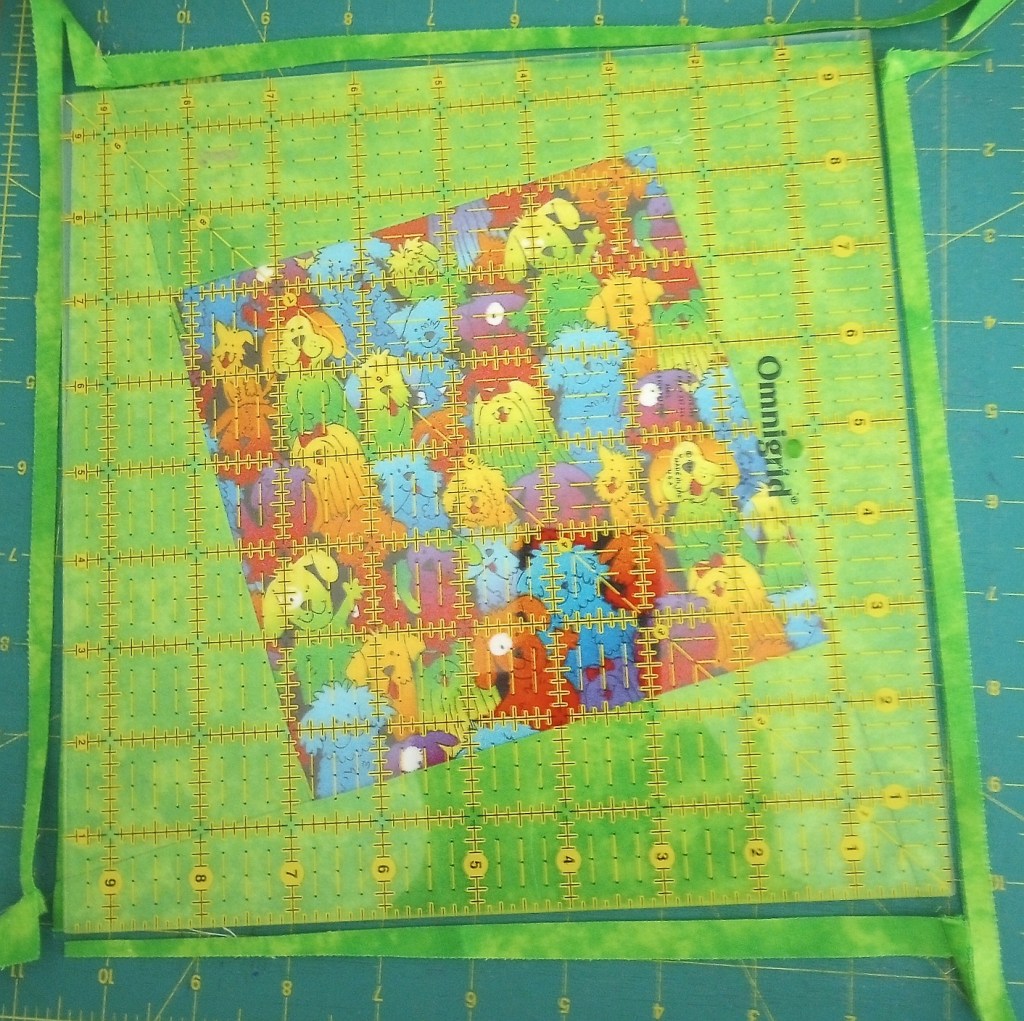
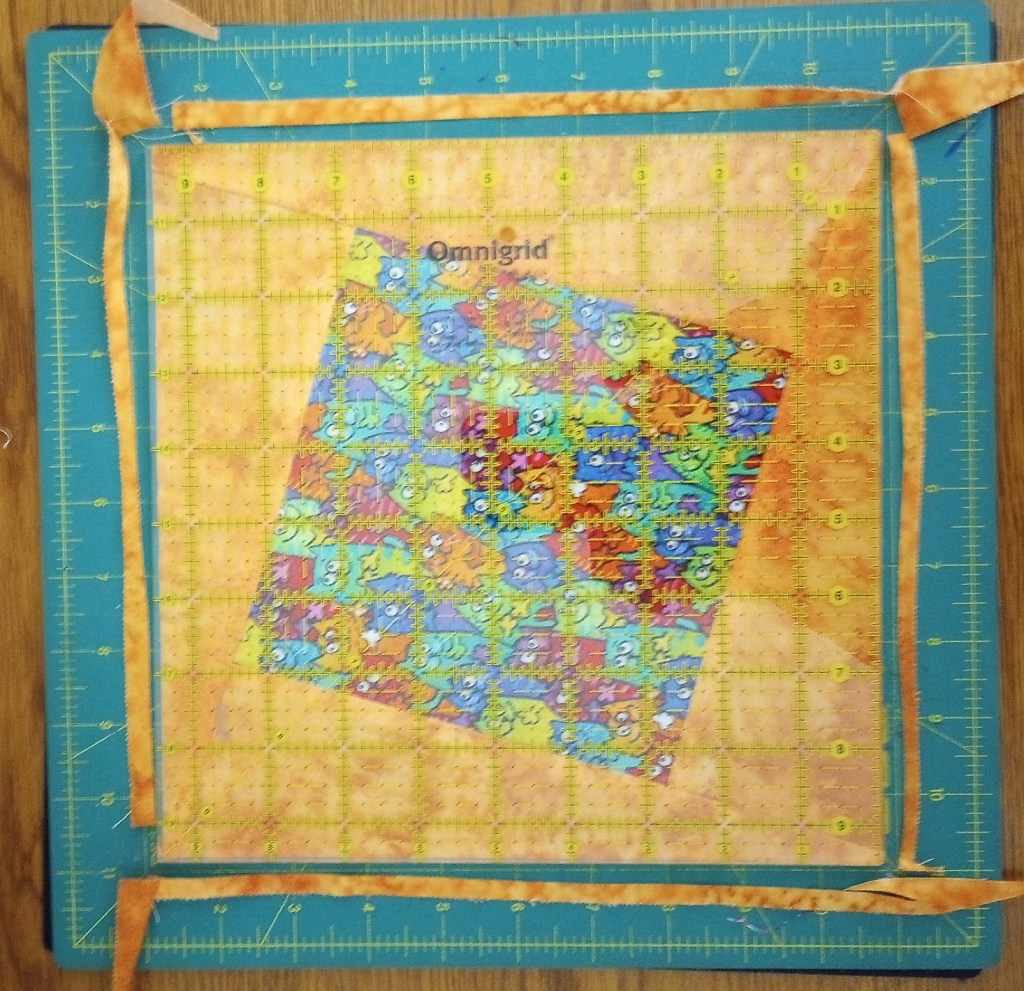
Press the block and then trim to 9 ½” square cutting a little off from each side. The block doesn’t have to be perfectly centered, just eyeball it! 😉
RIGHT TWIST
The process is identical for the right twist block. The only difference is, you’ll be sewing with the frame under the block instead of on top of it.
It will look slightly different as each previous seam was hidden under the block and now it’s on top where you’ll see it.
The gallery of photos are numbered so just follow the sequence, rotating the block and adding another framing strip each time.